
DOWNLOAD THE APP


Customer Services
Copyright © 2025 Desertcart Holdings Limited
DOWNLOAD THE APP


🚗 Tow Boldly, Tow Smartly — The CX-5’s Ultimate Hitch Upgrade!
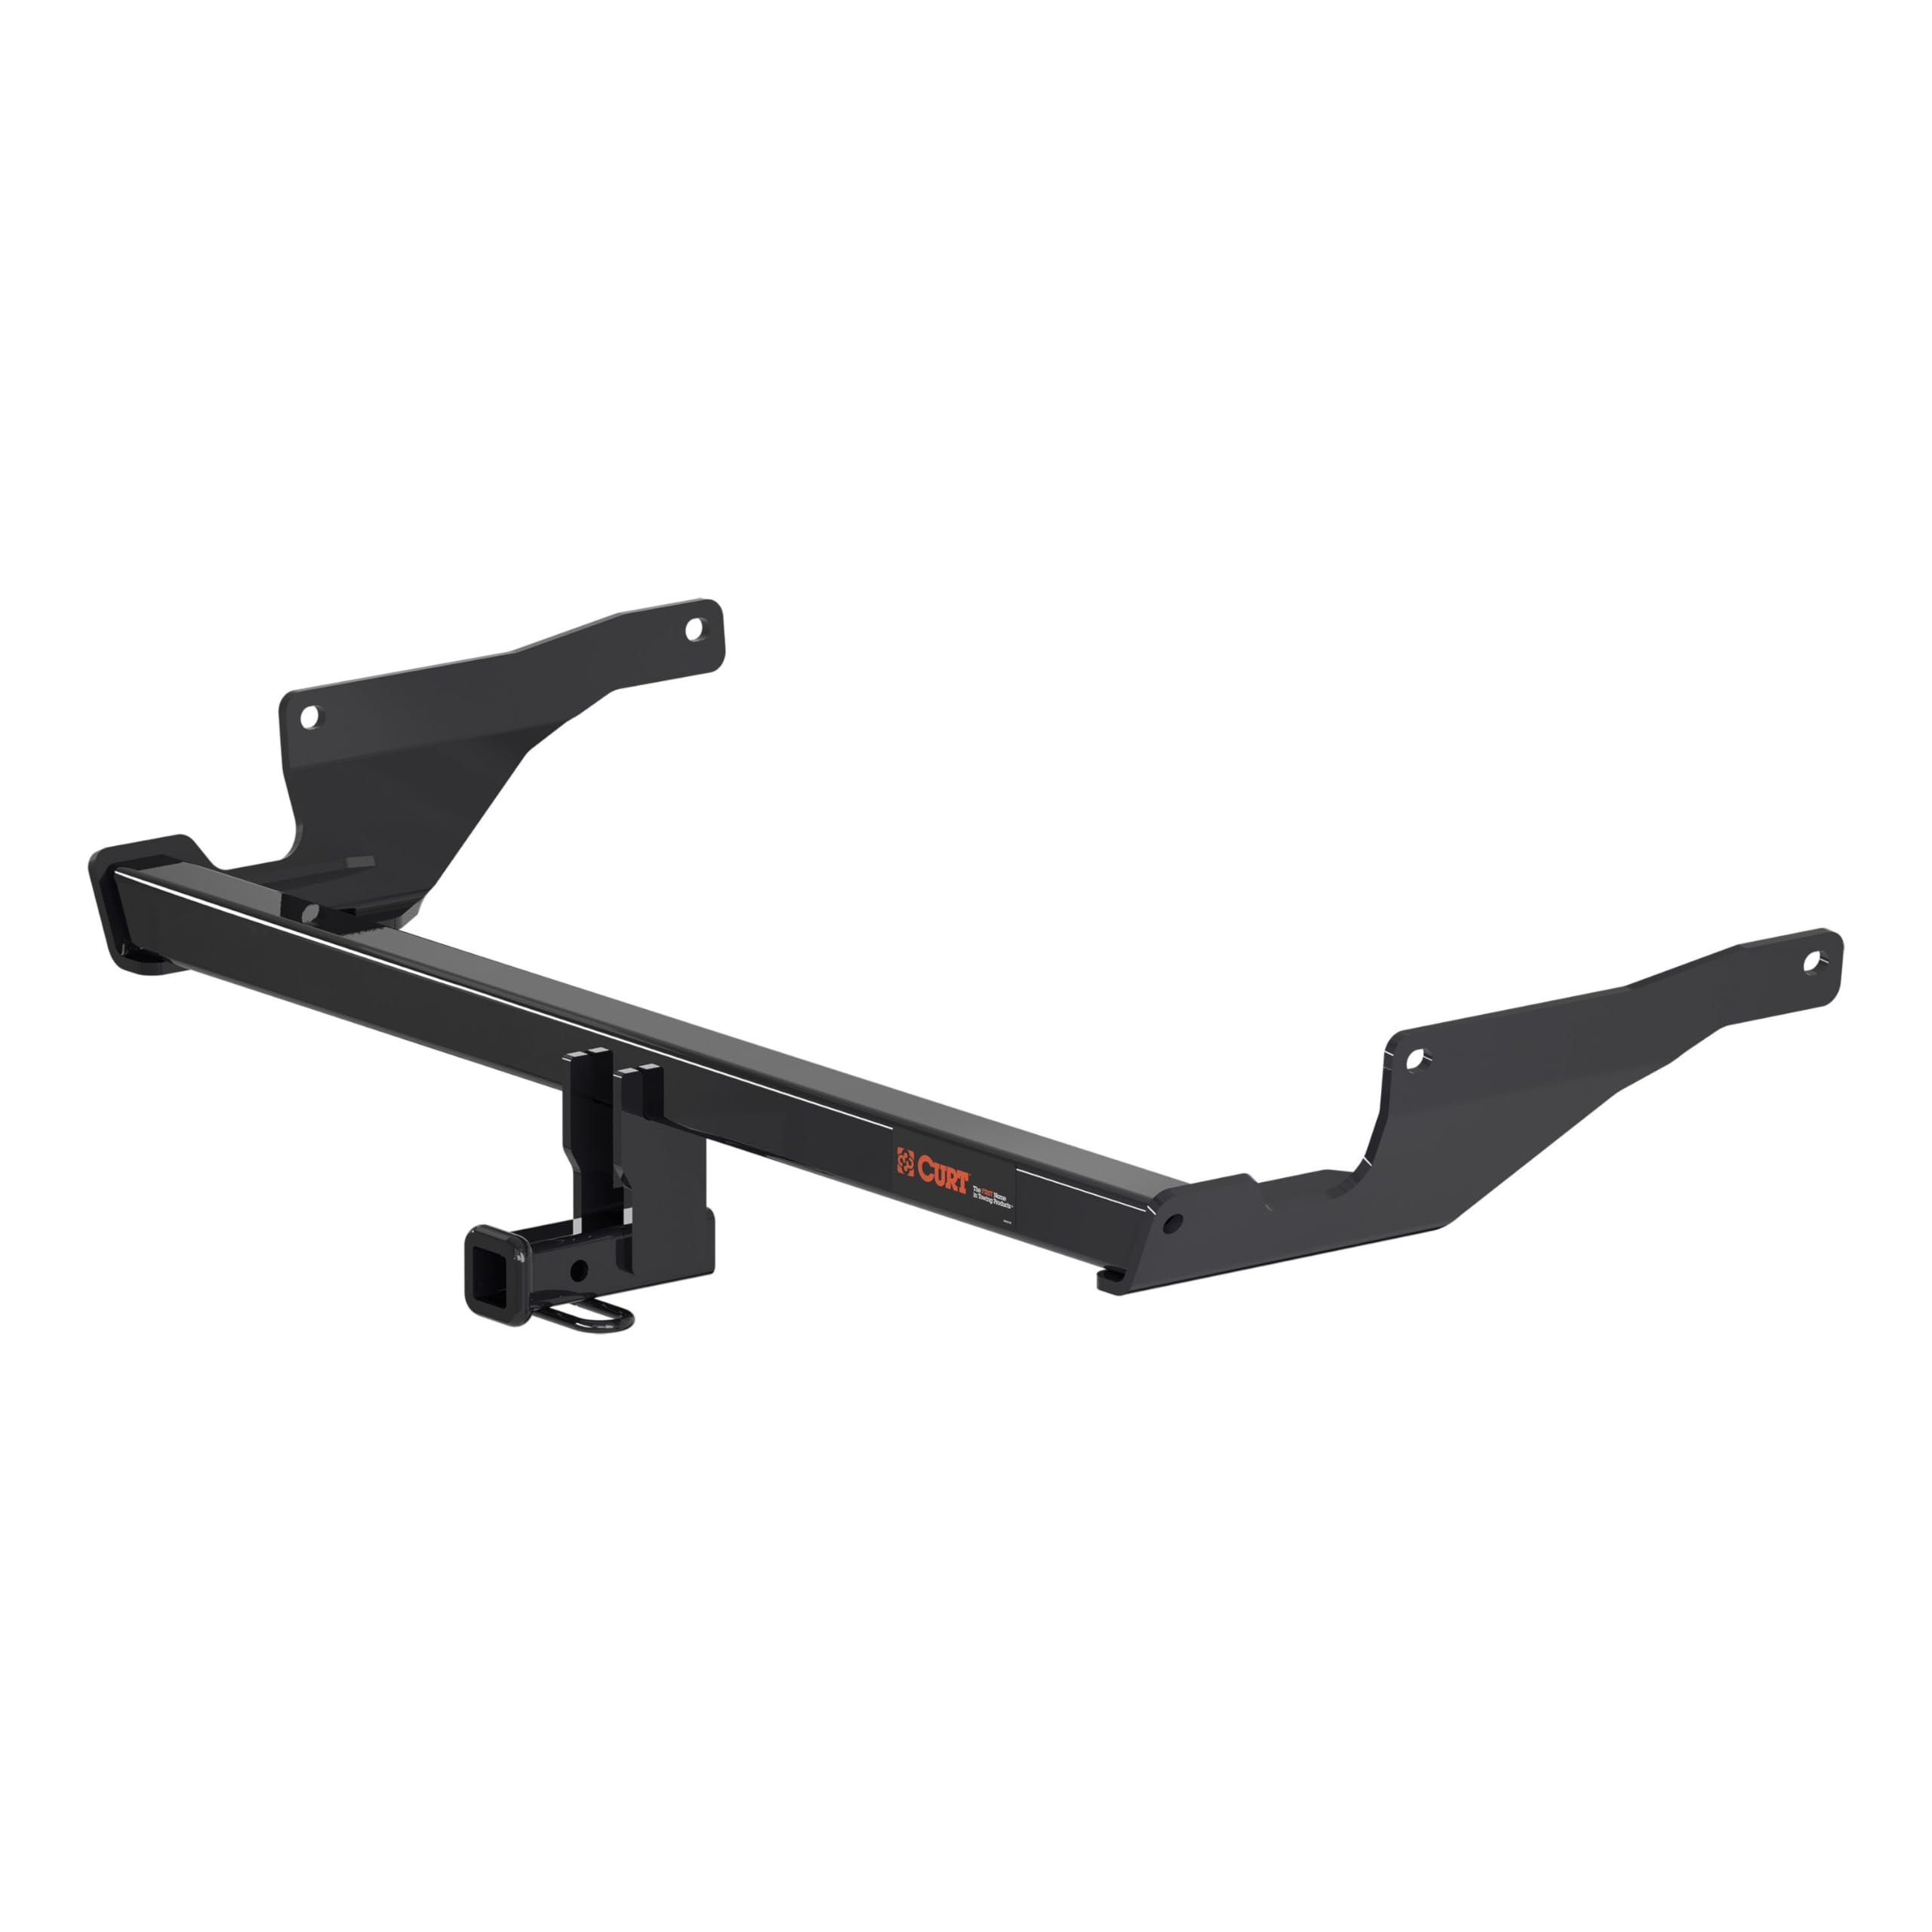
The CURT 12170 Class 2 Trailer Hitch is a custom-fit, heavy-duty towing solution designed specifically for select Mazda CX-5 models. Built from high-strength carbon steel and finished with a dual-coat process for superior rust and UV protection, it supports up to 3,500 lbs gross trailer weight and 350 lbs tongue weight. Featuring a standard 1-1/4-inch receiver, this hitch is perfect for light-duty towing and cargo accessories. Tested to SAE J684 standards in real-world conditions, it offers a reliable, sleek, and unobtrusive towing upgrade that blends seamlessly with your vehicle’s design.


| ASIN | B071NTP7Z5 |
| Automotive Fit Type | Vehicle Specific Fit |
| Best Sellers Rank | #1,318,791 in Automotive ( See Top 100 in Automotive ) #241 in Towing Drawbar Hitches |
| Brand | CURT |
| Customer Reviews | 4.2 4.2 out of 5 stars (142) |
| Date First Available | May 10, 2017 |
| Exterior | GLOSS BLACK POWDER COAT |
| Finish Type | GLOSS BLACK POWDER COAT |
| Global Trade Identification Number | 00612314121700 |
| Item Weight | 32.4 pounds |
| Item model number | 12170 |
| Manufacturer | CURT |
| Manufacturer Part Number | 12170 |
| Material | Carbon Steel |
| Model | Class 2 Hitch |
| OEM Part Number | 12170 |
| Position | Rear |
| Product Dimensions | 45 x 21 x 12 inches |
| UPC | 612314121700 |
| Vehicle Service Type | Car, Marine-Personal-Craft, Pickup Trucks, Sport-Utility-Vehicles, Trailer |
B**E
A few tips that might help someone
This is a quality product, and it fit our CX-5's mounting holes perfectly. The "novice' installation was supposed to be only 40 minutes. Ha! It was more like a few hours. Even so, we saved a lot of money by installing it ourselves. Here's what we learned: 1. You will need TWO people who know how to turn wrenches. This is too awkward a job for someone experienced with mechanical work and someone who doesn't really have any mechanical skills. That's because both ends of the hitch receiver have to be positioned at the same time. It MIGHT be possible to make the 40 minute mark with two experienced people, if you don't waste any time. But with an experienced person + an inexperienced person, expect it to take hours. You might improve on that time if BOTH people watch the installation video, because it's hard for one person to explain things to the other person in the moment, with both people under the car. 2. It's not necessary to jack up the car. In fact the working distance is reasonably decent with the car on the ground. 3. I didn't want to just hang the muffler down. Instead, I supported it on a box. That didn't really work. Just leave it hanging, because you'll need the room. Nothing will break - I don't think. At least nothing broke on my exhaust. 4. The fish wires work brilliantly, unless they get bent. Do not let them get bent as you raise the hitch receiver into place. 5. Leave the rear muffler hangers on the body!!! There's a reason they tell you to do this. It is because with the hitch receiver in place, it's hard to work the hanger over the hook on the body. Not IMPOSSIBLE, though: Lube the hole well with WD40, turn it upwards, and mash it sideways over the hook. It doesn't look like it would work, but it does. If I might propose an alternative method that will work better with an inexperienced helper: 1. Follow the instructions for lowering the muffler. 2. Prep the hitch receiver with the taped-on washers as instructed. 3. Position the hitch receiver. The main square beam will rest safely inside the lower lip of the bumper cover. Each person should hand-thread a hex bolt and washer through the FORWARD holes of the receiver and into the captured nut on the body. If the helper is unable to accomplish this, the receiver assembly will stay safely in place with just one end attached and the main beam sitting on top of the bumper cover, allowing the experienced hand to switch places and thread the opposite bolt. 4. Secure the rear end of the receiver into position by cramming a cardboard box underneath the receiver socket. The correct position is the highest position it can be supported. All remaining work can be done by the experienced person, perhaps with an occasional push or tug from the assistant. 5. THEN use the fish wires to insert the carriage bolts and backing plate into the frame and out through both the side hole in the frame AND the hitch receiver hole. The reason for doing this step in this order, at this point, is to prevent the awkwardness of stringing the fish wire through the receiver hole while raising the receiver into place, which can result in a hung or bent wire and a lot of frustration and cursing. Tip: if the bolt won't insert through all the holes, align the washers and components by sticking a tool through the hole, and forcing it around in a circular motion. This may be done with the fish wire in place. 6. Tighten it all down, and thank your helper. :-)
S**B
Fits like a glove & does the job for hauling a small utility trailer
This is the third Curt 12170 hitch I have installed on a Mazda CX-5. #1 was a 2016 FWD, #2 was a 2018 AWD, and #3 was a 2019 AWD. As I write this, Amazon does not show this fitting a 2019 CX-5, but it will just fine. Likewise, there is no significant difference between a FWD and an AWD in the area where this hitch mounts - it fits both models equally well. Installation instructions are good, and written by someone whose first language is English. Take their advice, and tape the four spacer washers to the inside of the hitch rails before you attempt to install it. Although I did two of the three hitch installs single-handedly, the install where I had a spare person to help support the hitch as I started the bolts was much easier. The hitch's holes line up perfectly with existing holes in the vehicle's frame rails. Other than manhandling the weight of the hitch, the hardest part of the install for me was getting the four rubber mounts loose from the muffler. Again, follow the advice on the installation instructions and leave the rubber mounts attached to the vehicle (don't take them all the way off the car). Once the hitch is in place, it is a challenge to get them back onto the vehicle if you take them all the way off. For wiring, I have bought and installed Tekonsha 118746 trailer harnesses. The wiring harness install has actually taken more time than the hitch install. As for service. I have had no issues during the two years I have had this hitch on the 2016. At the risk of stating the obvious, neither a four cylinder CX-5, nor this class II hitch are engineered to pull a 30' Airstream. However, that duo has done just fine pulling a small utility trailer (example: Harbor Freight 4x8). My uses have seen no more than about 100# of tongue weight and maybe 600# to 800# of total trailer weight. When not in use, the small little receiver box is the only thing visible. The rest of the assembly is tucked WAY UP behind the rear bumper. It is very unobtrusive, and for me has posed no clearance issues backing over parking lot planters, or driving up steep driveways. Color me satisfied (after all, I have bought and installed THREE).
M**C
High quality, relatively easy installation, but instructions could be better
I've installed a trailer hitch on nearly every vehicle I've ever owned, and I've come to rely on Curt Manufacturing for high quality hitches at a reasonable price. This hitch is no exception: very high quality, as I've come to expect. BUT -- whoever wrote up these instructions never installed one of these hitches. "Installation time: 40 minutes" my a**. Not even close. Plan on 2-3 hours. To be fair, most of that is Mazda's fault, not Curt's: you have to lower the muffler to install the hitch, and that is NOT easy by any means. It would probably be easier if the car were up on a lift, but that's not something that the average homeowner has in his garage. Most of us have to crawl around on the garage floor. The part that IS Curt's fault is the illustrations in the instructions: it's hard to see exactly what they're referring to in these tiny, grainy black&white photos. Line drawings would have been a lot better. On the positive side, installing a trailer hitch is something you only have to do to a car once, so in the grand scheme of things, it doesn't really matter that much that they underestimated the time so much.
R**L
Quality piece.
This is a well manufactured, custom hitch. The steel is sturdy and the coating (powder coating I think) is thick. I believe it will have great durability. All necessary hardware is included and the fit is perfect. HOWEVER, the installation is not for amateurs. The muffler must be lowered and supported (not easy) and positioning the hitch and mounting it requires two people. It should be installed while on a lift. It takes some mechanical know how, and a mechanic’s dexterity. I am more than happy with the fit and the strength of this hitch. It is a quality piece.
Trustpilot
1 month ago
2 days ago