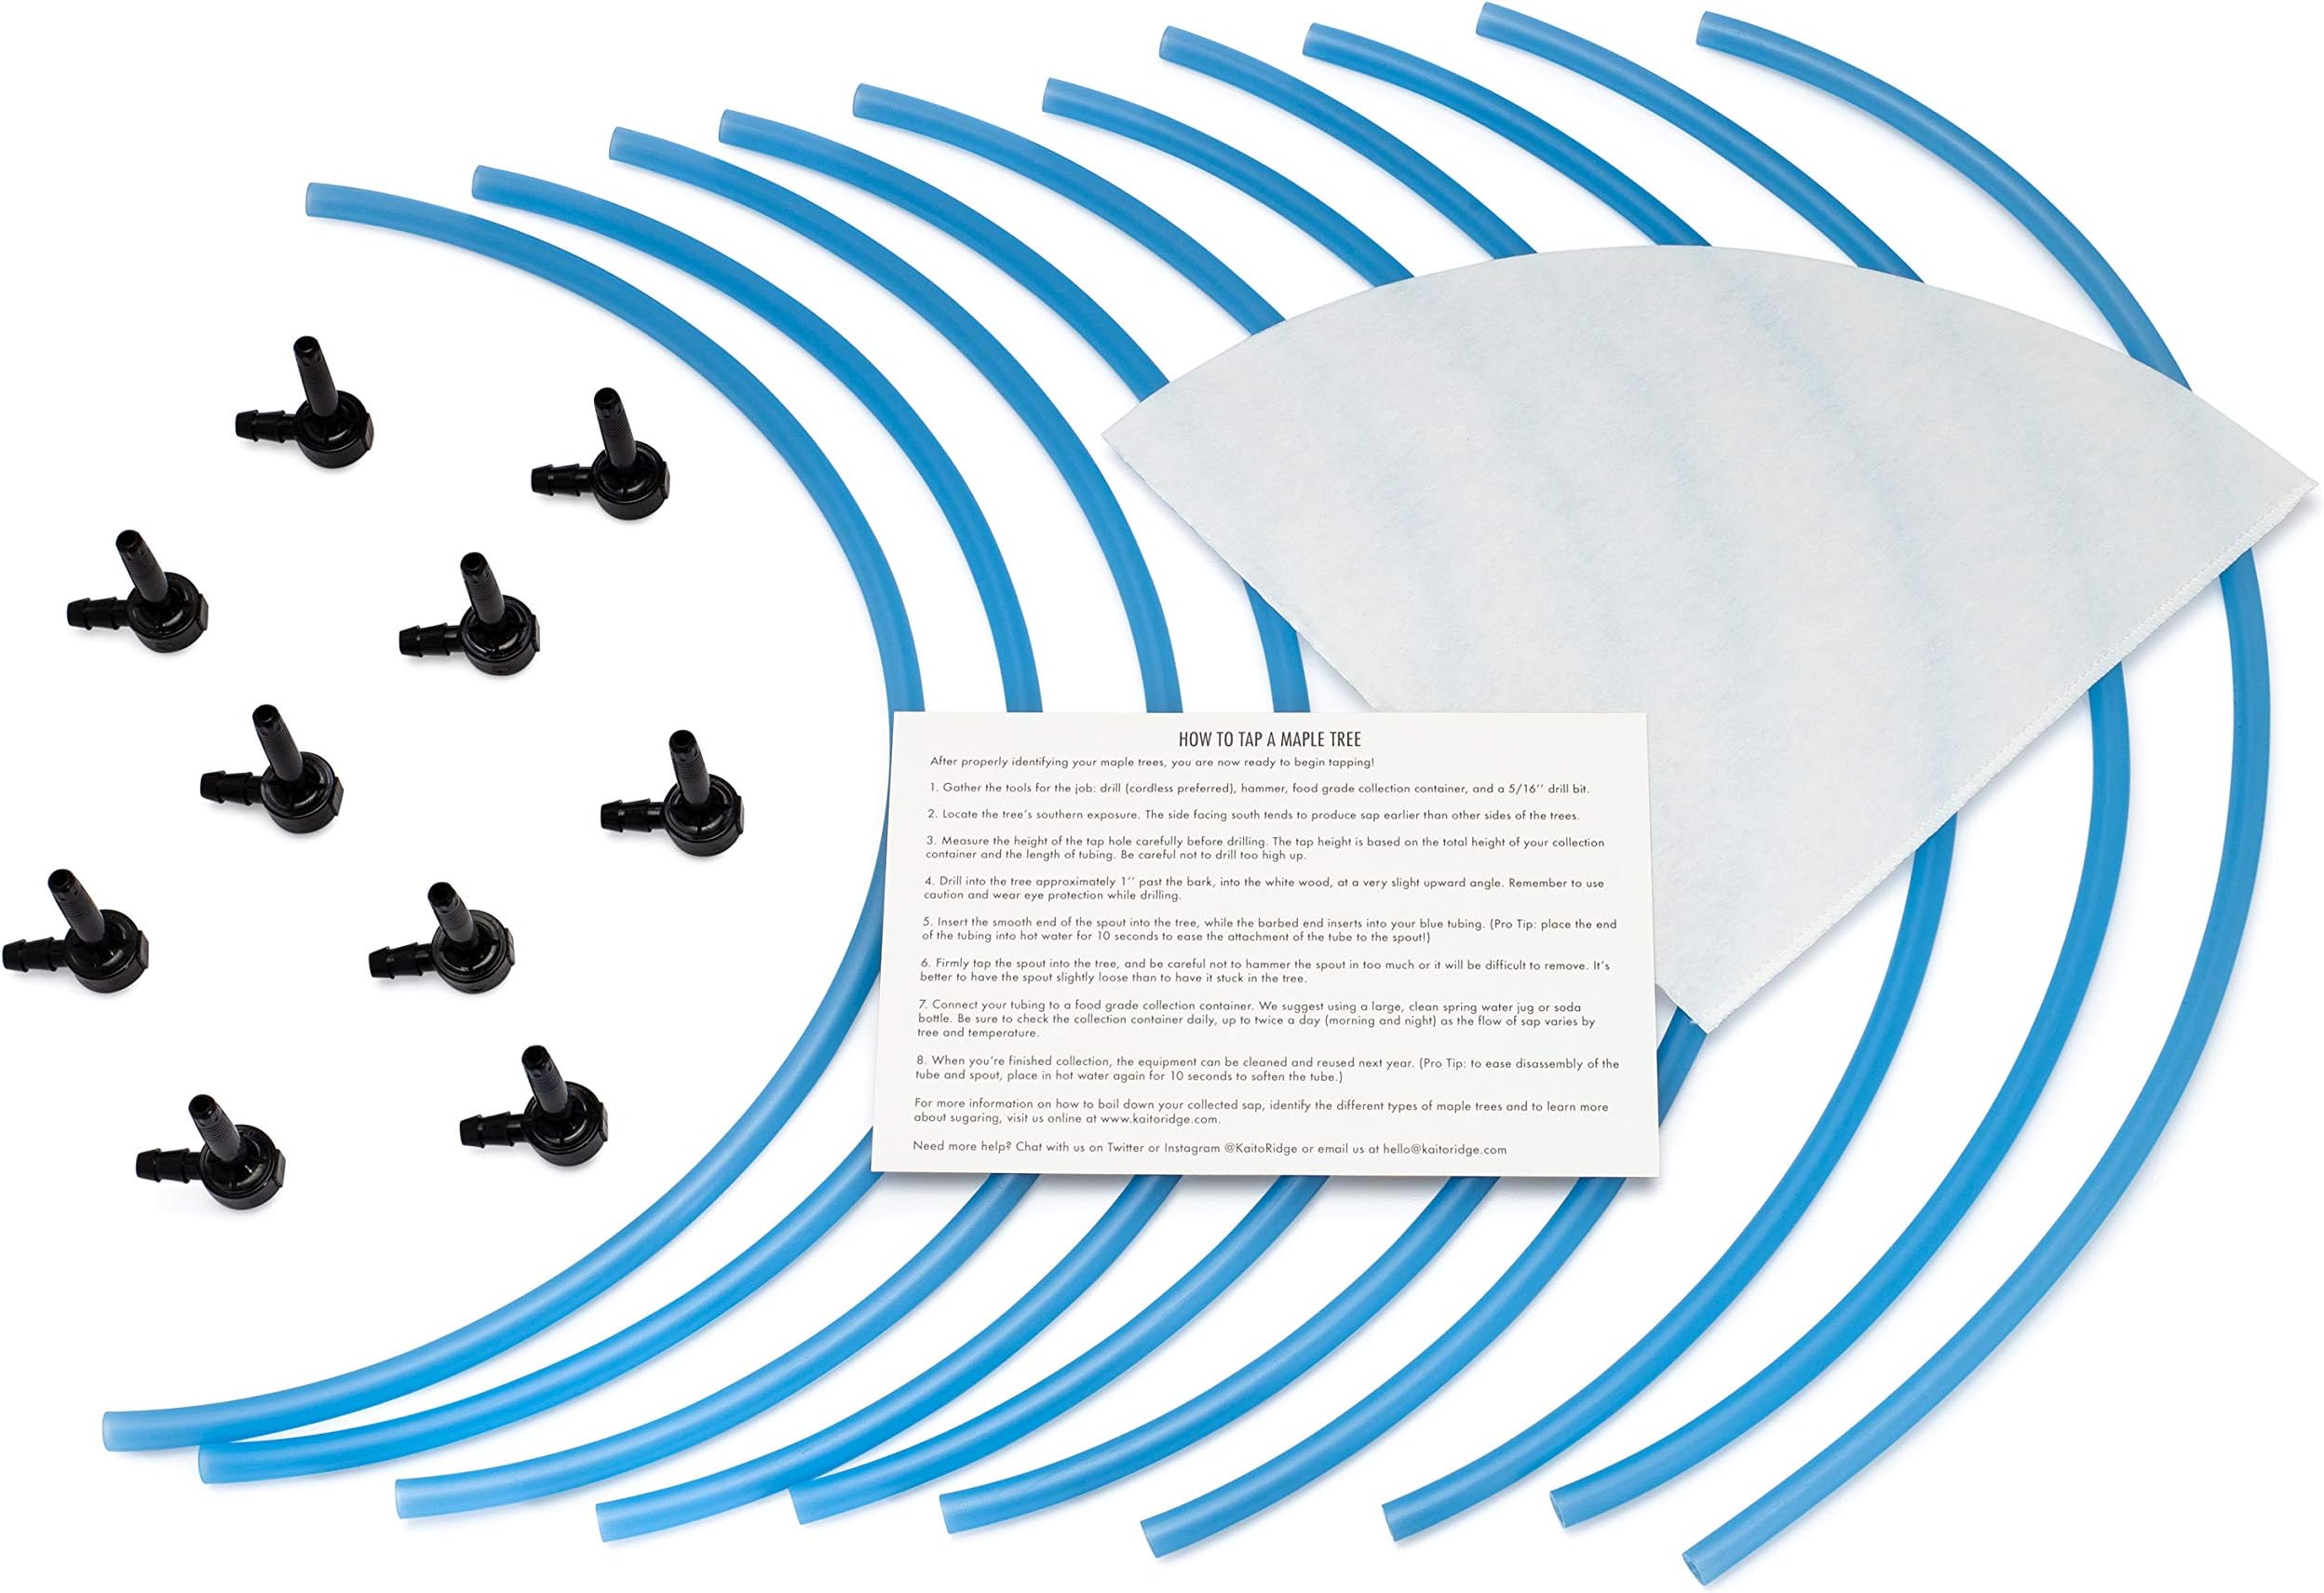


10 Maple Syrup Tree Tapping Kit - 10 Taps + 2-Foot Drop Lines + Includes Sap Filter + Instructions
Product ID: 1408040
🌳10 taps
📏24'' drop lines
🧼Sap filter included
Desertcart purchases this item on your behalf and handles shipping, customs, and support to Peru.
🍁 Tap into Nature's Sweetness!
The 10 Maple Syrup Tree Tapping Kit includes 10 sustainable taps, 2-foot drop lines, a premium sap filter, and an easy-to-follow instruction guide, all designed to help you harvest maple syrup with minimal impact on the trees.
| Manufacturer | Kaito Ridge |
| Part Number | 1 |
| Item Weight | 12.8 ounces |
| Package Dimensions | 11.25 x 11 x 1.5 inches |
| Item model number | 1 |
| Is Discontinued By Manufacturer | No |
| Size | 5/16'' diameter line x 24'' long |
| Material | PE |
| Item Package Quantity | 10 |
| Batteries Included? | No |
| Batteries Required? | No |
K**D
but we did a little research online and found out its fun and relatively easy
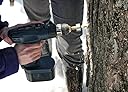
This was our first year tapping our maple trees, we live in a small village in Michigan and didn't even realize we could just drill and tap our huge sugar maples and make syrup, but we did a little research online and found out its fun and relatively easy!This kit is great, pretty basic with the 10 spiles and tubing. We measured first before we drilled and tapped since we used the blue tubing and empty sterilized 1 gallon milk jugs. The jugs sat on the ground and we drilled a large hole on the cap to fit the tubing. Sap starting dripping immediately and after one week we collected 22+ gallons of sap from 2 trees with 2 taps each. We waited one week and boiled all day (10 hours) and made about 2 quarts of syrup. Very fun for my family, my daughter is only 3 but she loved to check the containers every day. Our neighbors and friends were all very interested in our maple syrup adventures and we will certainly do it again next year!
S**H
Excellent Kit
I purchased these taps to begin learning to make maple syrup. Shipping was fast and free as always with Amazon Prime. My dog found one of the taps in the tree and started chewing on it. It held up pretty good to his abuse and I am still able to use it though it is cosmetically damaged. I like the tubes that come with this type of tap as opposed to the hanging pail style. I drilled a hole in the lid of 1 gallon water jug and used that as my collection container. With this, it is very hard to get any dirt or debris into your sap. I am able to put my collection container on the ground and run the tube to it and not worry about any spillage. The hose has a bit of a coil to it, but I just heated it up to relax the polymer and straightened it out. When cooled, it will hold its shape. Great set to get started collecting sap and making Syrup. I have collected a total of about 25 gallons of sap so far using this kit and the season is really just beginning. Be prepared that boiling the sap to make syrup may be the bigger chore. Good luck and give this kit a try.
J**I
Great product and fun to do too!
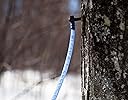
I used them to tap my birch trees to get healthy water to drink. These worked great! The hose was long enough I could put a jug on the ground to the tap. I followed the directions and drilled a small hole, then inserted the tap. Worked great. It was my first time tapping a tree and I got more birch water than I could drink. Tastes great btw. Since there were ten, I gave some to friends to try and everyone was successful. It was fun to do it and this product was simp,e and easy to use. The instructions that came with were clear and easy. I will reuse the next year, I think they will last for years. It did not hurt my trees. I stuck a stick in the hole when I was done tapping and broke it off flush. I cannot even tell where I tapped now.
W**T
Nice set.
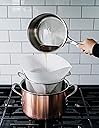
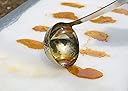
This is a nice set and offers more than enough taps to have a fun, family project.Installation of this set is a breeze... the tubing is a tight fit on the tap, but that can be made easier by allowing it to soften in hot water for a minute or so.If there is an issue with this set, it is that the tubes are not very long. You can purchase a suitable 1/4" ID tubing from your local hardware store (and even some barbed T fittings if you want to route multiple lines into one) and route the lines as needed.Something that worked well for me is drilling holes in the plastic caps of the bottles and fed the tubing into the cap. This allowed for quick "switchout" and the seal between the drilled hole in the cap and the tightly fitted tubing keeps unwanted pests and dirt out.So, the collection process turned out to be the easy part... and that is what this kit is designed to do. I think the interesting part is how inconsistent sap production is. With my 2 sugar maples below freezing, it didn't do much of anything... but other days I'd draw up to 5 gallons.Now, the process of cooking the sap... this is pretty tedious and time consuming. I used the single burner on my propane smoker and cooked out about 3/4 gallon per hour. I cooked down about 6 gallons per day to about 3 quarts (8:1), which was manageable to store in the fridge before attempting to cook it to the final 40:1 on the stove top.The final cookdown is not as easy as it might seem, either. As the syrup thickens, you have to keep stirring and managing the heat, or this can get out of control in a hurry. I've never seen a 3 quart sauce pan JUMP on a glass top stove, before... but with about 3" of liquid that was cooking on a low/medium heat, this did. Be very cautious doing these final steps with kids in the vicinity.The other thing that I wasn't aware of is the "sand" that develops in the process. This is a very gritty consistency that makes the syrup unpleasant. I didn't realize its magnitude until I poured the syrup in canning jars. Like sand, it settled to the bottom of the jar.I wasn't real happy with what I thought was my "final result" at first... it was a little runny and the color was light... and all of this sand... so I cracked open one of my jars and tried to take it a step further. The good news is that the "sand" had settled on the bottom and the syrup poured very well back into the sauce pan. The sand was about 1/8 of the total volume of the jar and spooned out of the jar easily. I cooked the de-sanded syrup down about another 20% and the color turned nicely. I had to manage the heat and stir quite a bit to get there, though.I'm sure the flavor will differ from batch to batch and from tree to tree, but my final product had a more of a caramel flavor than I would have thought... it was very good, but a little different from my expectations.You do not want to over cook this or you will end up with hard candy, or worse, burnt hard candy...After I re-jarred the liquid syrup, I decided to try cooking the "sand" more... it ended up turning into a taffy-type of candy which the kids did like. I think in the future, I will use this for BBQ sauces and rubs in lieu of sugar... why not?The bottom line is that this is great for a project... but be aware that it will be time consuming and expect to run through 1 or more 20lb bottles of propane in the process and it would be much cheaper and expedient to just buy the real processed maple syrup.Update: I've been using this same set every year and have not had any issues with them... one thing that might help, though. I like drilling the holes in the lid of bottles and screwing the lids on tight. Well, that can create some substantial pressure inside the bottle, especially as temperatures change. In the past, I just left the lid a little loose to stop this from happening, but this year I just drilled an additional hole in the lid of the bottles with the smallest drill bit that I had... this should accomplish the same thing while being too small for most any critter to find or exploit... see pic:
A**D
work great but watch out for squirrels
I bought 20 taps this spring. I tapped 6 sugar maples in the woods behind my new house. They were 1-2 ft dia and I used two taps per tree. I collected 35 gallons of sap this spring. I ended up with 3 QTS of amazing syrup. Unfortunately one batch got spilled in the fire right and the end but I managed to save 1/3 of it.I used a cinder block evaporator. I used 20 cinder blocks in a rectangle with one end open. I put 3 ft of stovepipe in the top back for a smokestack and put bricks around that. The front I left open to load wood. Once I got the wood in I would close it back up with bricks,except for two small holes to allow draft for the fire. On the top, I used two commercial steam pans, one aluminum and one stainless. They have a small lip around the edge of them. So I positioned my cinder blocks to hold the steam pans by those lips, and put the pans right next to each other. The pans enclose most of the top of the set up, with a gap in the front and back. I used sheet metal weighted down by bricks to completely enclose the rest of the gaps.This keeps heat from escaping, so its essentially a small woodstove with the pans and sheet metal as the top.I was cooking off 2-3 gallons of water per hour. Then I finished it inside and filtered it.Can't wait till next year!
Trustpilot
2 months ago
1 week ago