💡 Illuminate Your Space with Ease!
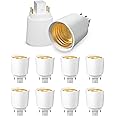
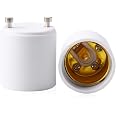
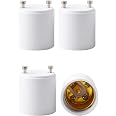
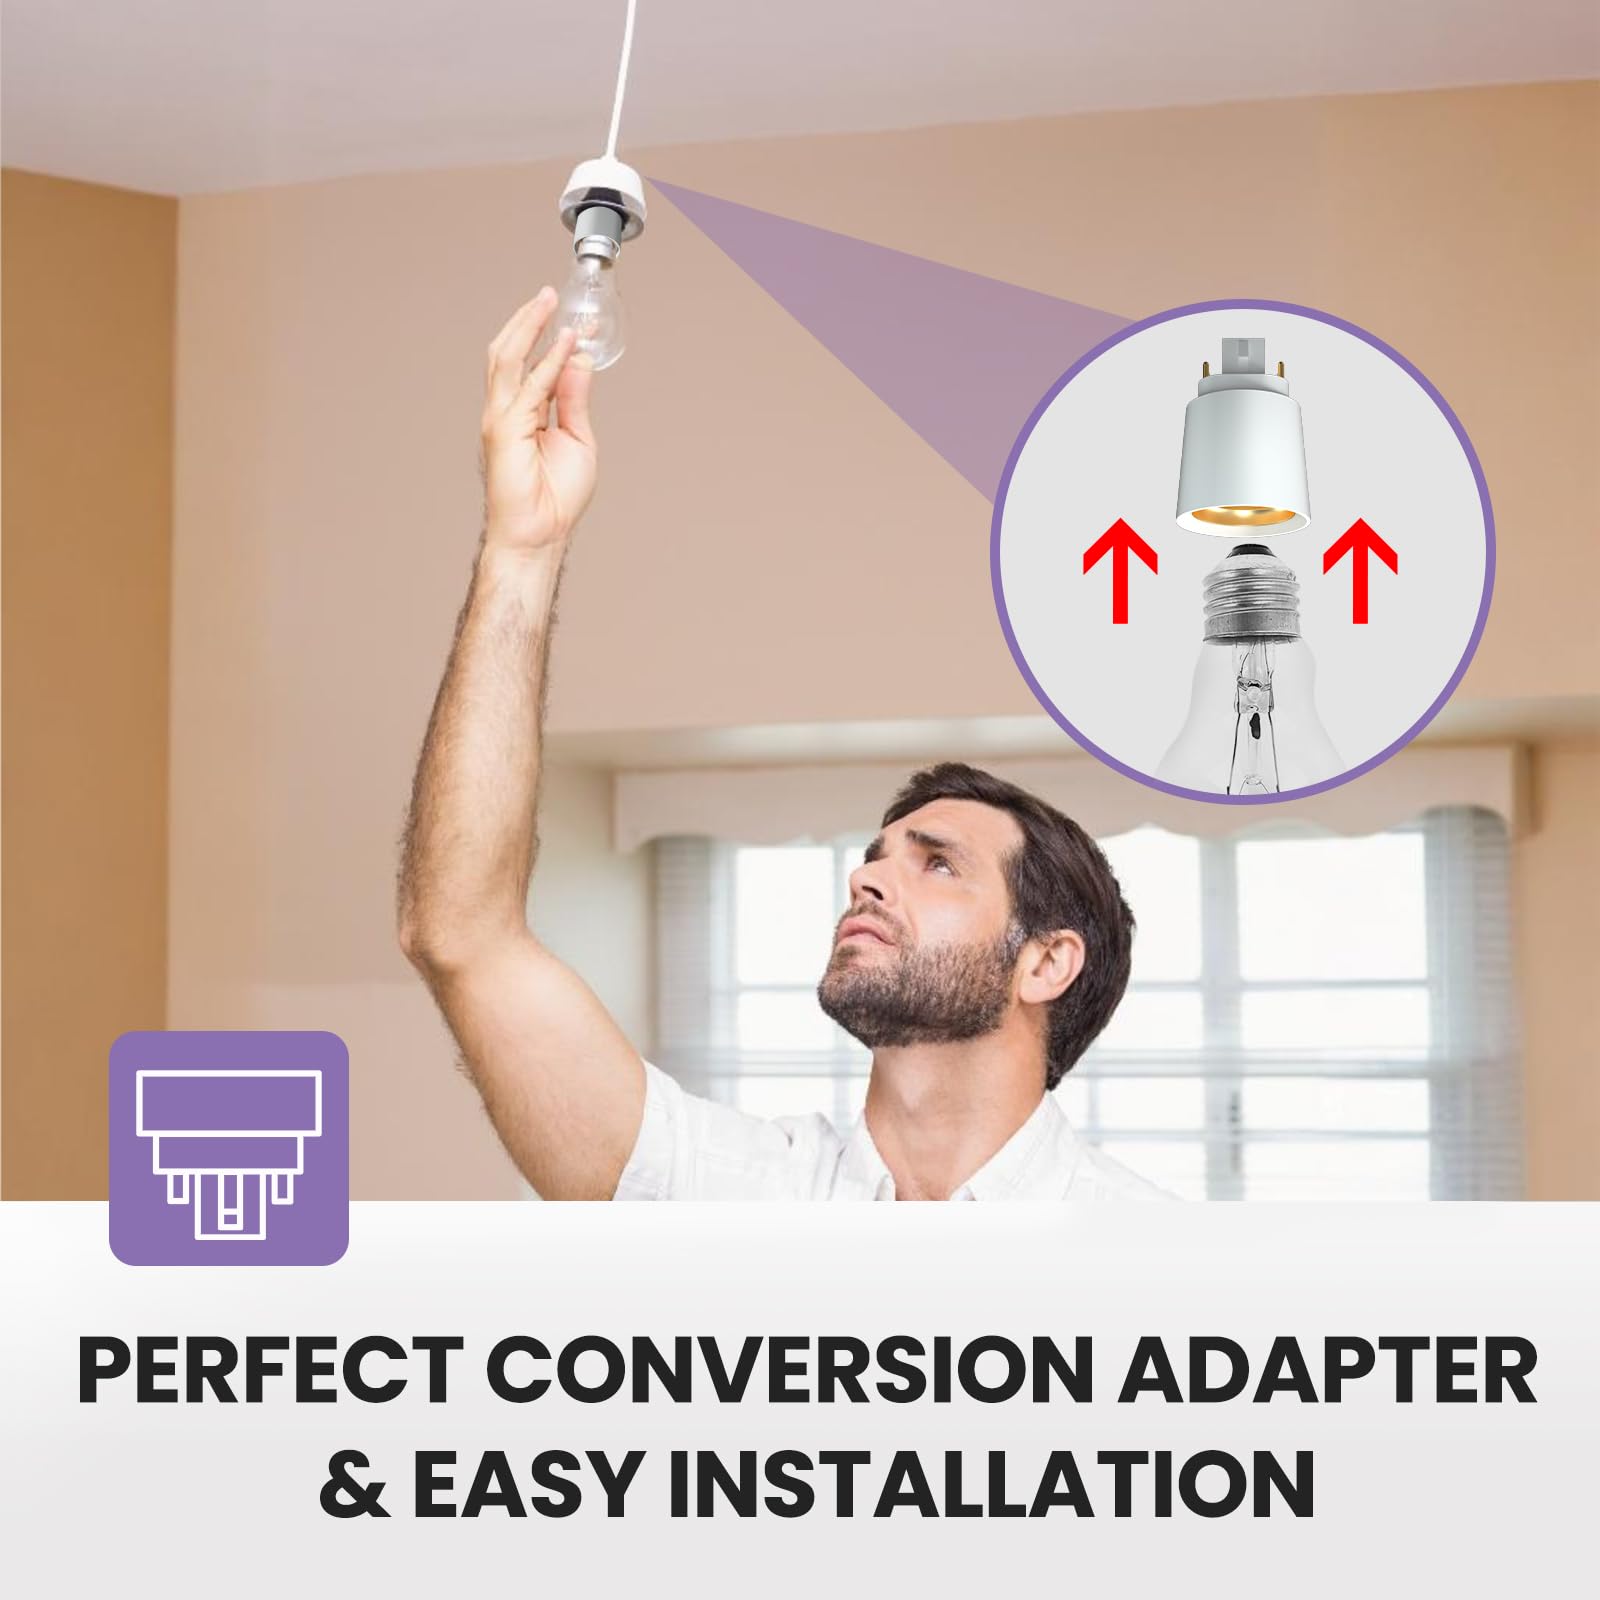
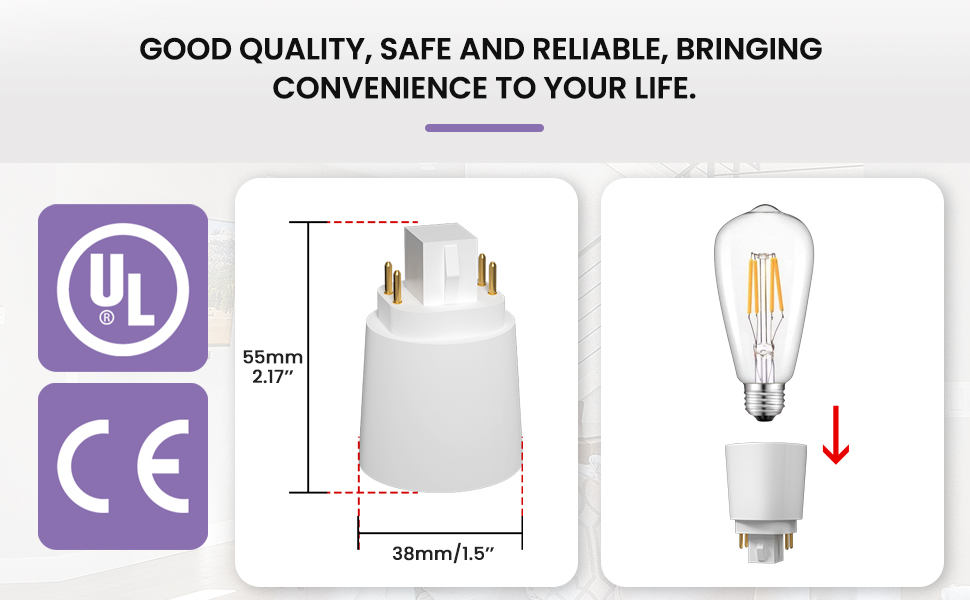
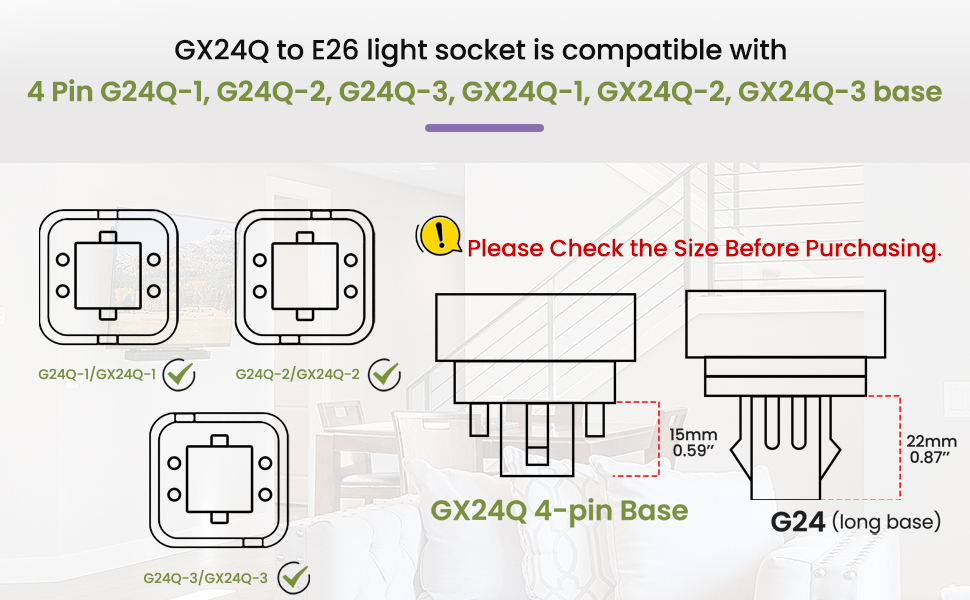
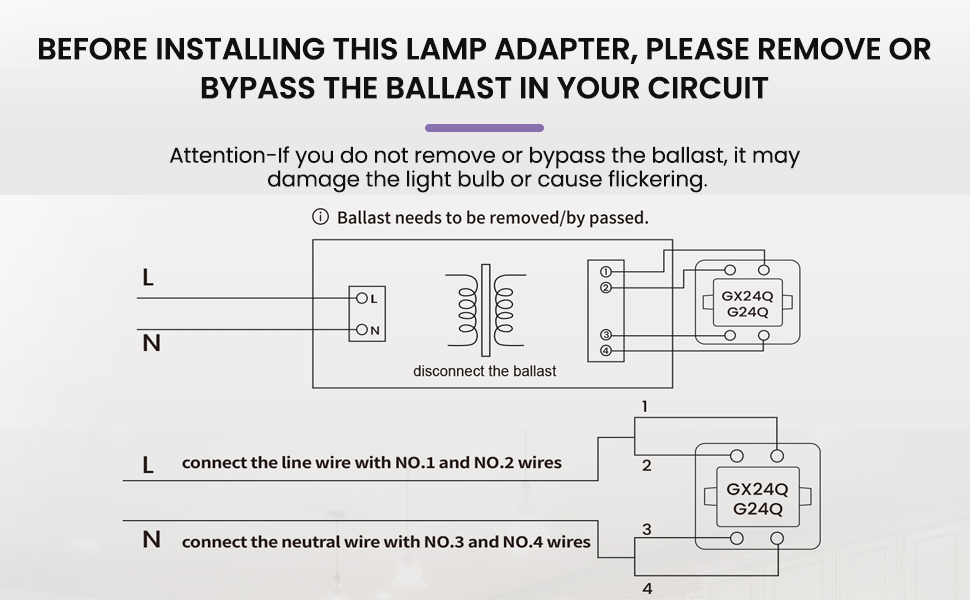
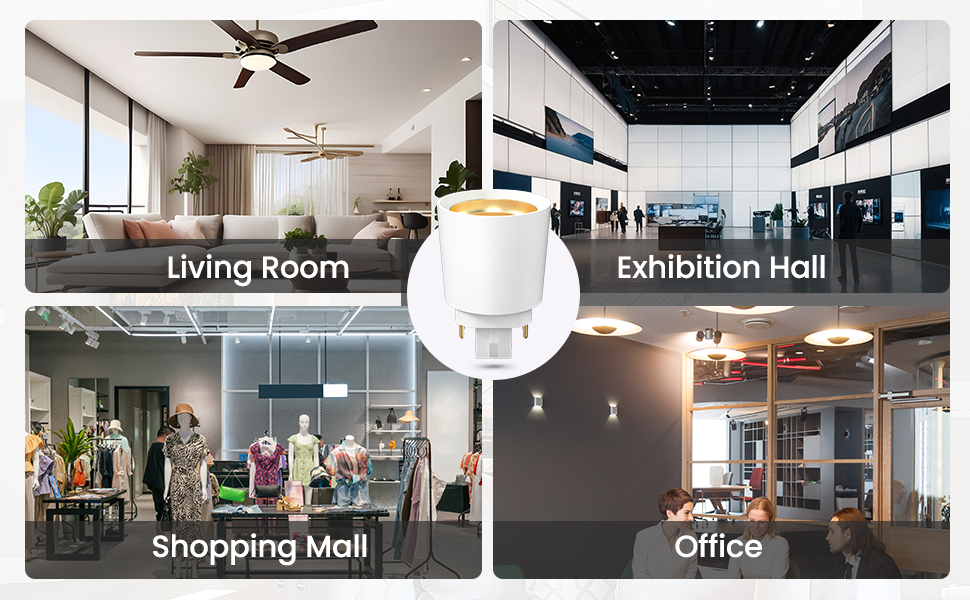
The Bonlux Gx24q to E26 Adapter is a versatile lighting solution that allows you to convert your GX24Q sockets to standard E26/E27 bases effortlessly. Designed for compatibility with multiple CFL 4 pin bases, this adapter eliminates the need for a ballast, ensuring a stable and flicker-free lighting experience. Constructed with durable, high-temperature resistant materials, it promises long-lasting performance and easy installation, making it perfect for both home and office use.
P**R
The most cost effective way to convert a can light
When one of my CFL light bulbs in a ceiling can light apparently burned out, I had no idea it was a plug in light bulb. And so I made the mistake of trying to turn it like a standard Edison light bulb.Well oh my god, glass all over the place. And tossed in the trash about $100 in food products that were sitting on the kitchen counter.What was even more curious was that before the bulb shattered while I was messing with it, it flashed on for a few moments. This was my clue that something was weird.I taped up the can light to prevent further damage, tossed the food and containers that might have had microscopic particles of glass in or on them into the trash, cleared the counter and floor and swept the area. I was finding glass for a week. I hate wearing shoes in my house.What a stupid idea, putting not screw in light bulbs in the ceiling especially in a home where the ceilings other than in the bathrooms and kitchen use screw in type bulbs. Hence my confusion. The builder of my home really made a mistake.So then I searched the web for why this light bulb would not unscrew, and determined that this CFL bulb needs an external ballast and that most likely the ballast and not the bulb was the problem. That the bulb briefly flashed on while it shattered in my hand made me certain that this was the case. I’ve had lots of experience with fluorescent tube ballasts going bad and replacing them.And by now I was so enraged at the notion of having these stupid ballasts and CFLs in my ceiling that it was time to get rid of this one.Scouring the internet there are lots of how row videos for how to install expensive kits to replace the entire can light with a new LED one. At $50 a pop I wanted a much simpler and cheaper solution.I don’t know how I came across this product but the more I looked it it, there more I decided that I had little to lose and much to gain by trying it.So it was one fine day a week into mandatory Covid-19 shelter in place. I was really bored and tired of one dark can light in my kitchen.So I read and reread the dirt simple instructions and, I also watched videos for how electricians open up the wiring box in the ceiling that connects the household current to the ballast and the ballast to the CFL bulb socket.I also examined my current ceiling light fixture. It is a conical fixture that has no cover: the light bulb is exposed. I call this fixture the bulb shield. The bulb shield can be pulled down from the ceiling until it stops. It is stopped by two retractable semi stiff wires that go through slots in the outside of the shield. The two stiff wires are connected to the sheet metal can that is in turn fastened by a wing nut to the ceiling.I can push the bulb shield in and out at will.So now I was ready.Before you start, turn off household current to the light fixture. Since there are three other lights on the same circuit, I just needed to switch off the circuit and tape it off and add tape over do not touch sign. If you have just one light on the circuit you will need to use the circuit breaker on the electrical panel.First step was to detach the bulb shield from the bulb socket. The bulb socket is wired to the ceiling with a metal insulator around wire. Do not cut those wires. The socket was held in the shield with spring loaded clips, and these were easy to move open to release the socket. As a side benefit I could now safely remove the rest of the broken cfl from the shield. There are two semi stiff wires from the can that hold the shield that go through slots on the outside of the shield. The stiff wires must be threaded through the slots to remove the can.The second step was to unfasten the can by removing the single wing nut.Third push the can back into the ceiling and out of the way.Fourth put a flashlight into the ceiling to see what is going on. In my case there is an electrical wiring box with a cover. The cover has two purposes. 1. Cover the wiring and 2. hold the screw for the aforementioned wing nut. The cover is held by a clip on the wiring box.Fifth remove the wiring box cover to expose all the wires and existing wire nuts.Sixth follow the actual written instructions that come with the product. The instructions are simple.Cut the white and black wires that are going into ballast; these are the household current wires. I cut them as close to the hole here the wires go in to ballast as possible to give me lots of wire to work with. that are the house hold current.Cut red and black wires that come out of that same hole. Again as close as possible. I had two pair of each.Strip the ends of each write.Using a new wire nut, bind the two red wires and the black wire together.Using a second new wire but, bind the two blue wires and the white wire together.Now the ballast is cut off and out of the picture from an electrical perspective.Some people like to remote the ballast but this would have made a 10 minute job a 100 minute job as there isn’t a lot of room up there to find the screws holding the ballast in place. So I left it there.Seventh. Stuff the wires back into the electrical box.Eighth. Cover the box.Ninth remove the flash light and turn it off.Tenth. Pull the can down and position the hole over the screw. This is the hardest part and you might find a flash light is helpful. Worst case tie a thread to the screw and thread the thread through the hole in the can. I didn’t need to do this but it took 4 tries.11th, place the can where it was before (in my case the bottom of the cab was flush with the ceiling joists just before the drywall) and thread and tighten the wing nut so that the can stays firmly in place.12th: put the bulb shield back. Re-clip the bulb socket into the opening. Re-thread the stiff wires from the can into the bulb shield. Push the bulb shield into the can. This might require several tries so that the shield is flush with the ceilings.13th plug the product that is the subject of this review into the socket.14th screw an led bulb into the socket. You MUST use an led bulb. An incandescent build will draw too much current and the red and blue wires are too thin a gauge. I used a 10 kilo watt build. I am also concerned that a screw in CFL bulb (which of course has a built in ballast) will draw too much surge current when the circuit is turned on. This is a low current application.15th, remove the tape from the wall switch. And turn on the light.It worked!I had one minor hiccup when the led light bulb went dark after ten minutes. I played with slightly unscrewing the bulb and it would work for a while and then go dark.I finally realized the problem.The standard Edison bulb and socket has two slightly different but compatible sizes.This product is from Europe and so must be using the slightly larger Edison socket to my USA bulb. The heat from the live connection expands must have expanded the metal in the screw in socket of the product and thus weakened the electrical contact.And my bulb was a dollar store special.The answer is to firmly tighten the bulb in the screw in socket of the product.This goes against natural instruct if you were born in the 20th century. I am are loth to do so with glass incandescent bulbs because the outcome is always a shattered bulb. But my led bulb is plastic. So tighten away. Worse case a trip to the store to get a new bulb and no cuts on my fingers.The bulb now shines reliably.I am so elated.
B**E
Does not work
Not sure why I fell for this again, but I needed some for these silly California sockets. One day I will rip these lights out and install simple Edison based sockets. These only work on one socket at the front door, all other applications they do not work, something about the ballast cannot power a normal incandescent bulb.
J**E
YOU MUST BYPASS THE CFL BALLAST!!!
This device (Gx24q to E26/E27 Socket Adapter) has worked flawlessly for me. I have installed three so far. There are no moving parts, and there is no moving plastic that will deteriorate. So, I expect these devices to last indefinitely.100% of the negative reviews I have read are due to the reviewer NOT bypassing the CFL ballast. I have 12 total CFL ballasts that needed to be bypassed. I looked at a few Youtube videos and decided I could do it. Even with fully understanding how to do it and also being handy with this kind of stuff, my first ballast that I bypassed took me about 2 hours. The second bypass job took me about 1 hour. The third bypass job took me about 20 minutes. You get the idea.Tools needed include a Phillips screw driver, a multimeter to ensure wires are cold, pliers to twist wired together, and a ladder. Bypassing the ballast is a lot more than simply plugging in this adapter, which is NOT what bypassing the CFL ballast means. If you have an electrician do it, I estimate they will charge you about $80 per ballast. And this conversion method is so new that the electrician will need to look at a Youtube video, just like you would need to do. So, you might as well do it yourself. That way, you can solve any future issues yourself. However, if you are NOT handy with this type of stuff, then you must hire an electrician.
J**K
Perfect! But you need to manage to push the light socket to the top end of the can.
As long as you have basic electrical work knowledge and follow the instructions, it’s very easy to make the change. One thing I like to add is that, if you just follow the instructions the light bulbs will be like popeyes, since 2 inches has been added downward. But you can fix it by drilling 1 hole on each side of the can, 2 inch above the original screw holes on the can, so the light sockets can be pushed to the top of the can to yield perfect results.
J**E
Happy to have bought it.
Instead of buying a retrofit kit to replace our entry door recessed 4-pin CFL bulb, I decided to install this adapter instead to use a standard Edison LED light bulb. It worked very well as my first experience. You still need to bypass the ballast behind the light fixture housing. you will also need to have some electrical knowledge and experience to do it right the first time without inadvertently causing some unforeseen damage. there are some good installation videos on the internet to help you with it. I am so happy with this project that I decided to convert the remaining 4-pin CFL bulbs in our home as they start to burn out. I think it is well worth it for you will be saving money, energy, environment, and resources in a long run.
J**A
Just ok
Was super excited to recieve these but when I tried to actually use them the light wouldn't stay on almost as if it has a short or not enough juice. So I have to return, I would try another brand though cause it's super convinent
S**A
Worked great to change my flourescent fixture to one that uses LEDS.
I bought these to get rid of the fluorescent bulbs in the bathroom vent fixture. The old bulbs failed often. I now can you screw in LED bulbs. Make sure that you bypass the ballast when you use these to convert to LED.
T**N
Don’t work and create electrical burning smell
I installed 5 and as soon as I turned the light on they blinked for a moment and then I started to smell an electrical smoke smell. Do not install these. Not only do they not work they could be dangerous.
Trustpilot
Hace 2 semanas
Hace 5 días