
Desert Online General Trading LLC
Dubai, United Arab Emirates
Desert Online General Trading LLC
Dubai, United Arab Emirates


D**E
These things are getting better every day
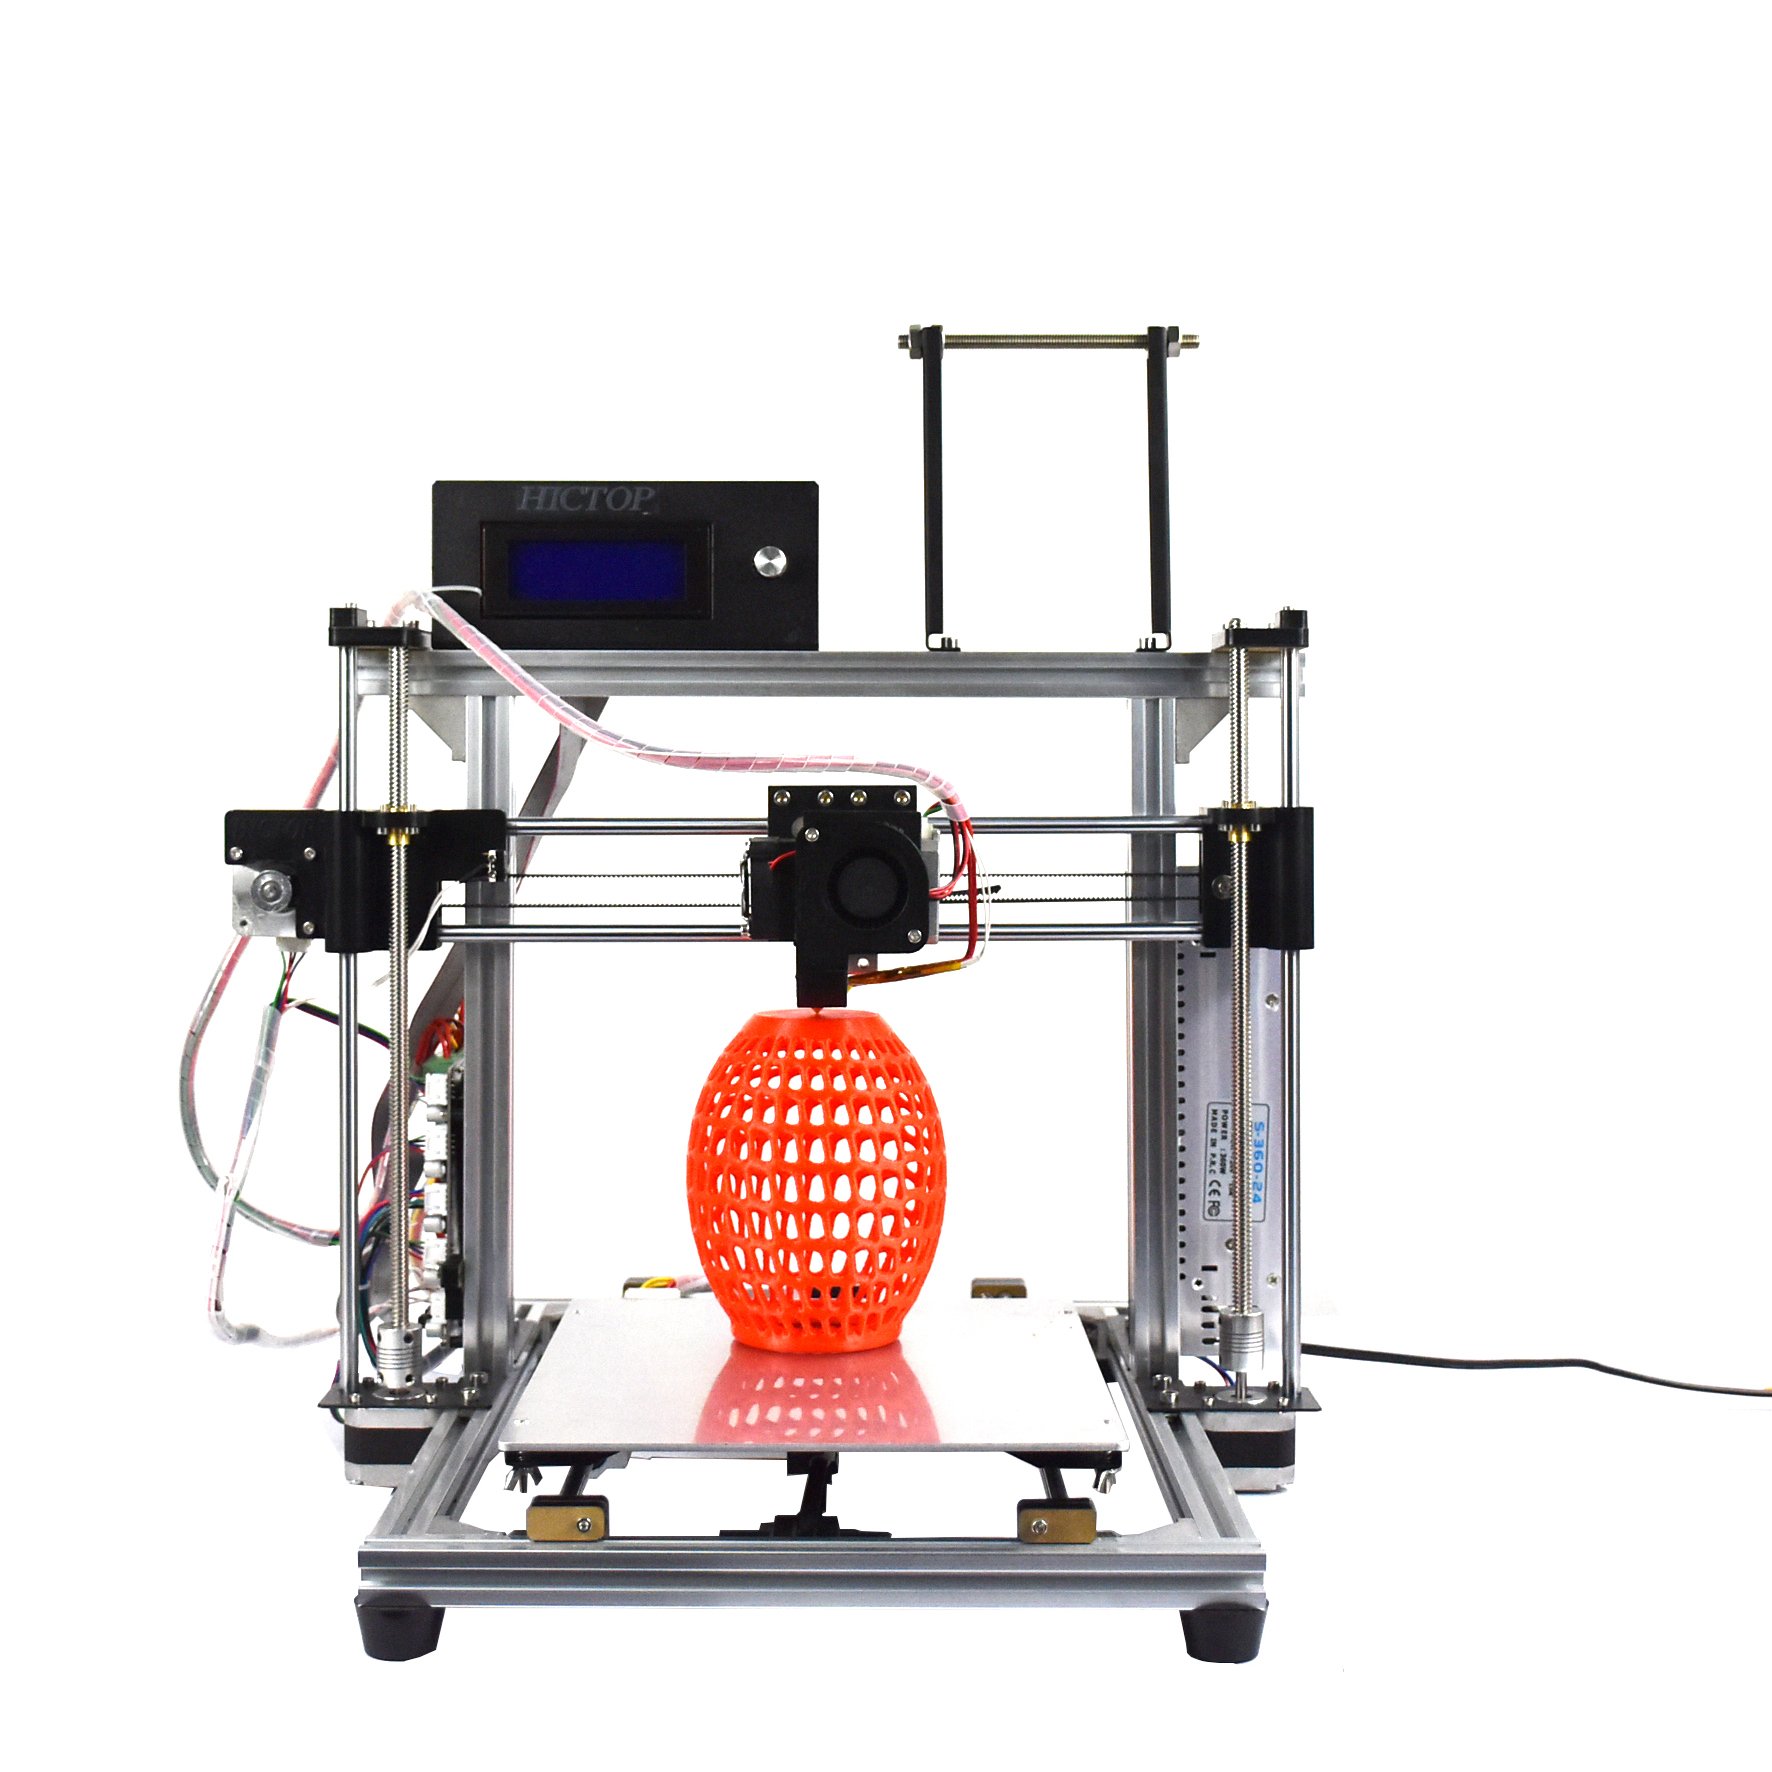
These things are getting better every day. Once I got the nozzle positioned and updated the Cura software I have been getting decent parts in PLA and ABS. I use Tinkercad (free on-lineI program) to create the parts, then bounce the *.STL or *.OBJ files to Cura. Cura converts the files to the G-code used by the printer. You should probably install the updated version of Cura if you are asked. My printer glitched and started printing in the corner of the bed until I downloaded and installed the updated version (that also updated other progams that are included on the initial install DVD).I give it a 4 as the instructions still need improvement. There are functions and setting they don't explain very well or at all. You can probably find info on that stuff on the internet. At the rate they are going with these, the instructions will probably get better with each revision.Caution: these are not for anyone who is new to electronics or is not very mechanically inclined. Get help if needed, or save the cash and buy a ready-to-go unit if you need to make stuff right now. To those who are up for the task, take your time, watch any of several good "help" videos you can find on Youtube, and you should be up and running in a weekend.
A**R
A pain, then a pleasure.
This is my first 3D printer and I had never operated one before this one. Assembly was fairly easy, it just takes a long time (about 12 hours for me including tweaks). The instructions are lacking, but they get it you there. Actual pictures instead of the graphics in the instructions would make it much easier. It really only takes a long time because you have a lot of parts to assemble and I had some tweaks I could see I needed to fix before I ever turned it on.The thermistor that came installed didn't work at first, which is probably why they send an extra one. All I had to do was loosen the set screw and adjust it so the wires didn't crimp together and it fixed the original thermistor.The auto leveler is the green thing behind the extruder, it plugs into the plug labelled the same as the number on the leveler. When you install the extruder, have it a few millimeters lower than the auto leveler (or at least that worked for me).I'll try to edit this with some tips and pictures. I could honestly rate this a 4, a DIY kit should have better instructions, but now that it is working and printing it's 3rd job of the night it's a 5.
Trustpilot
Hace 2 meses
Hace 5 días
Hace 2 semanas
Hace 3 días