Transform your living room into a stylish sanctuary! 🛋️
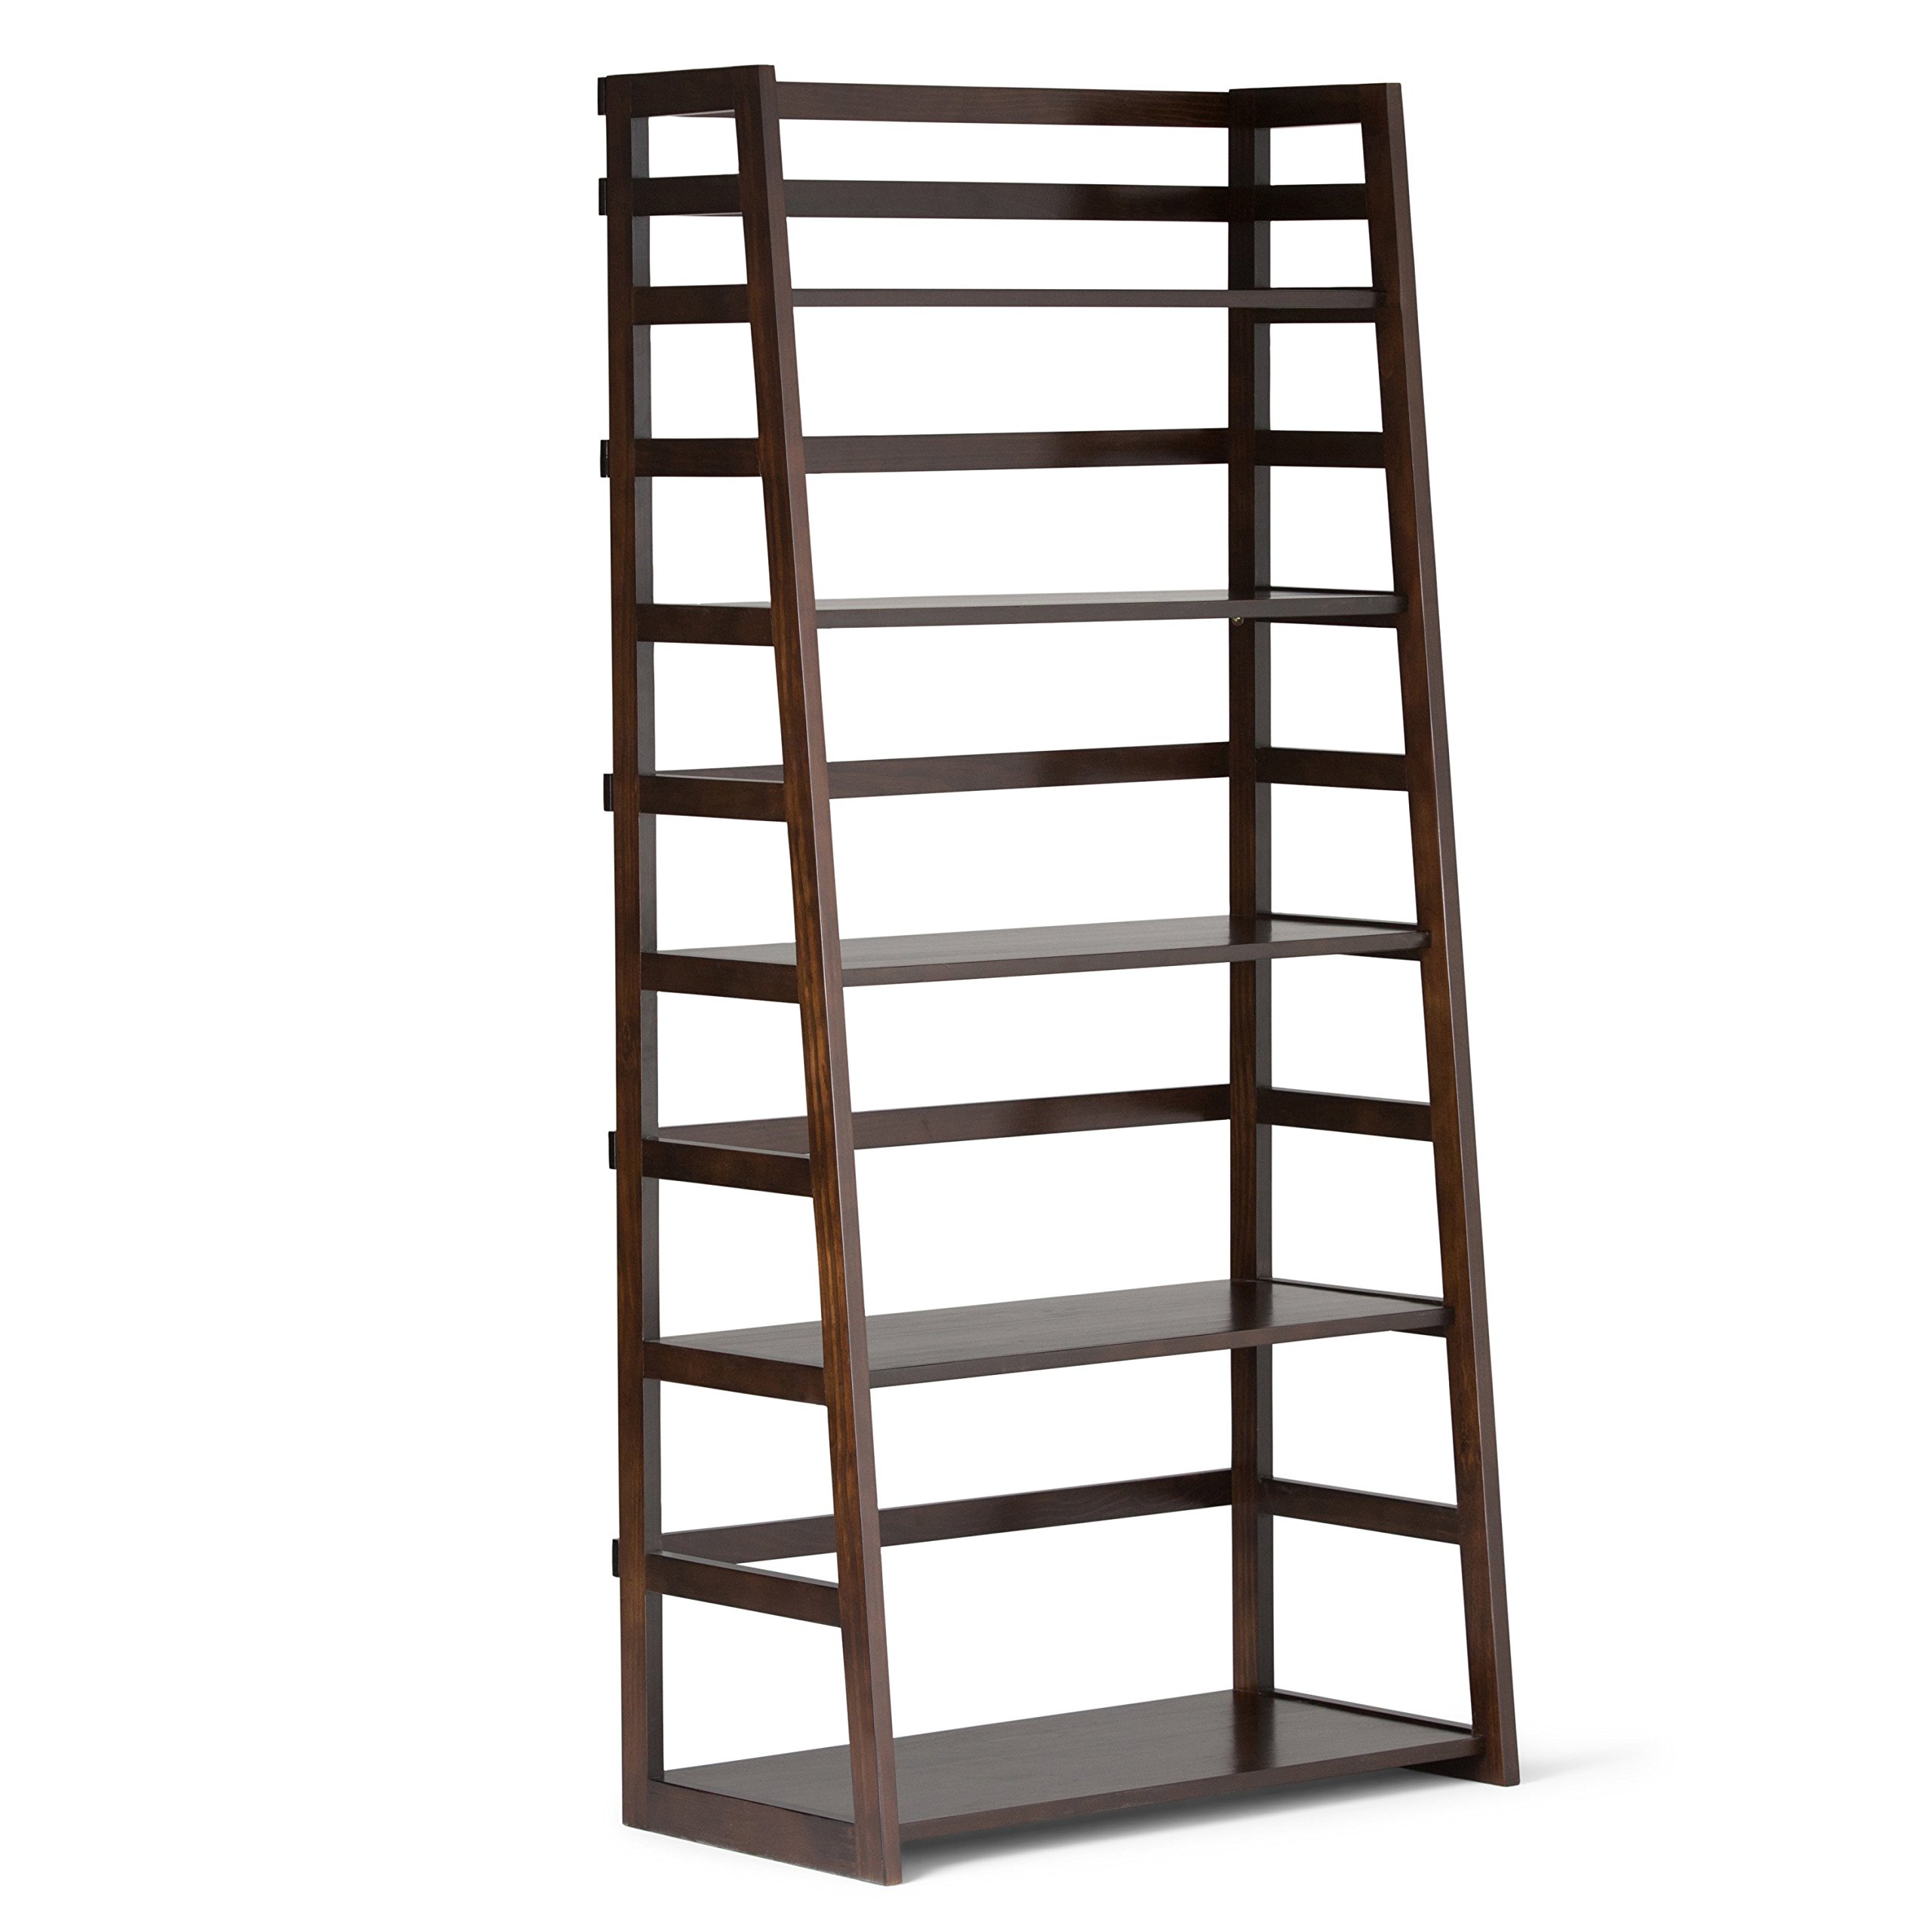
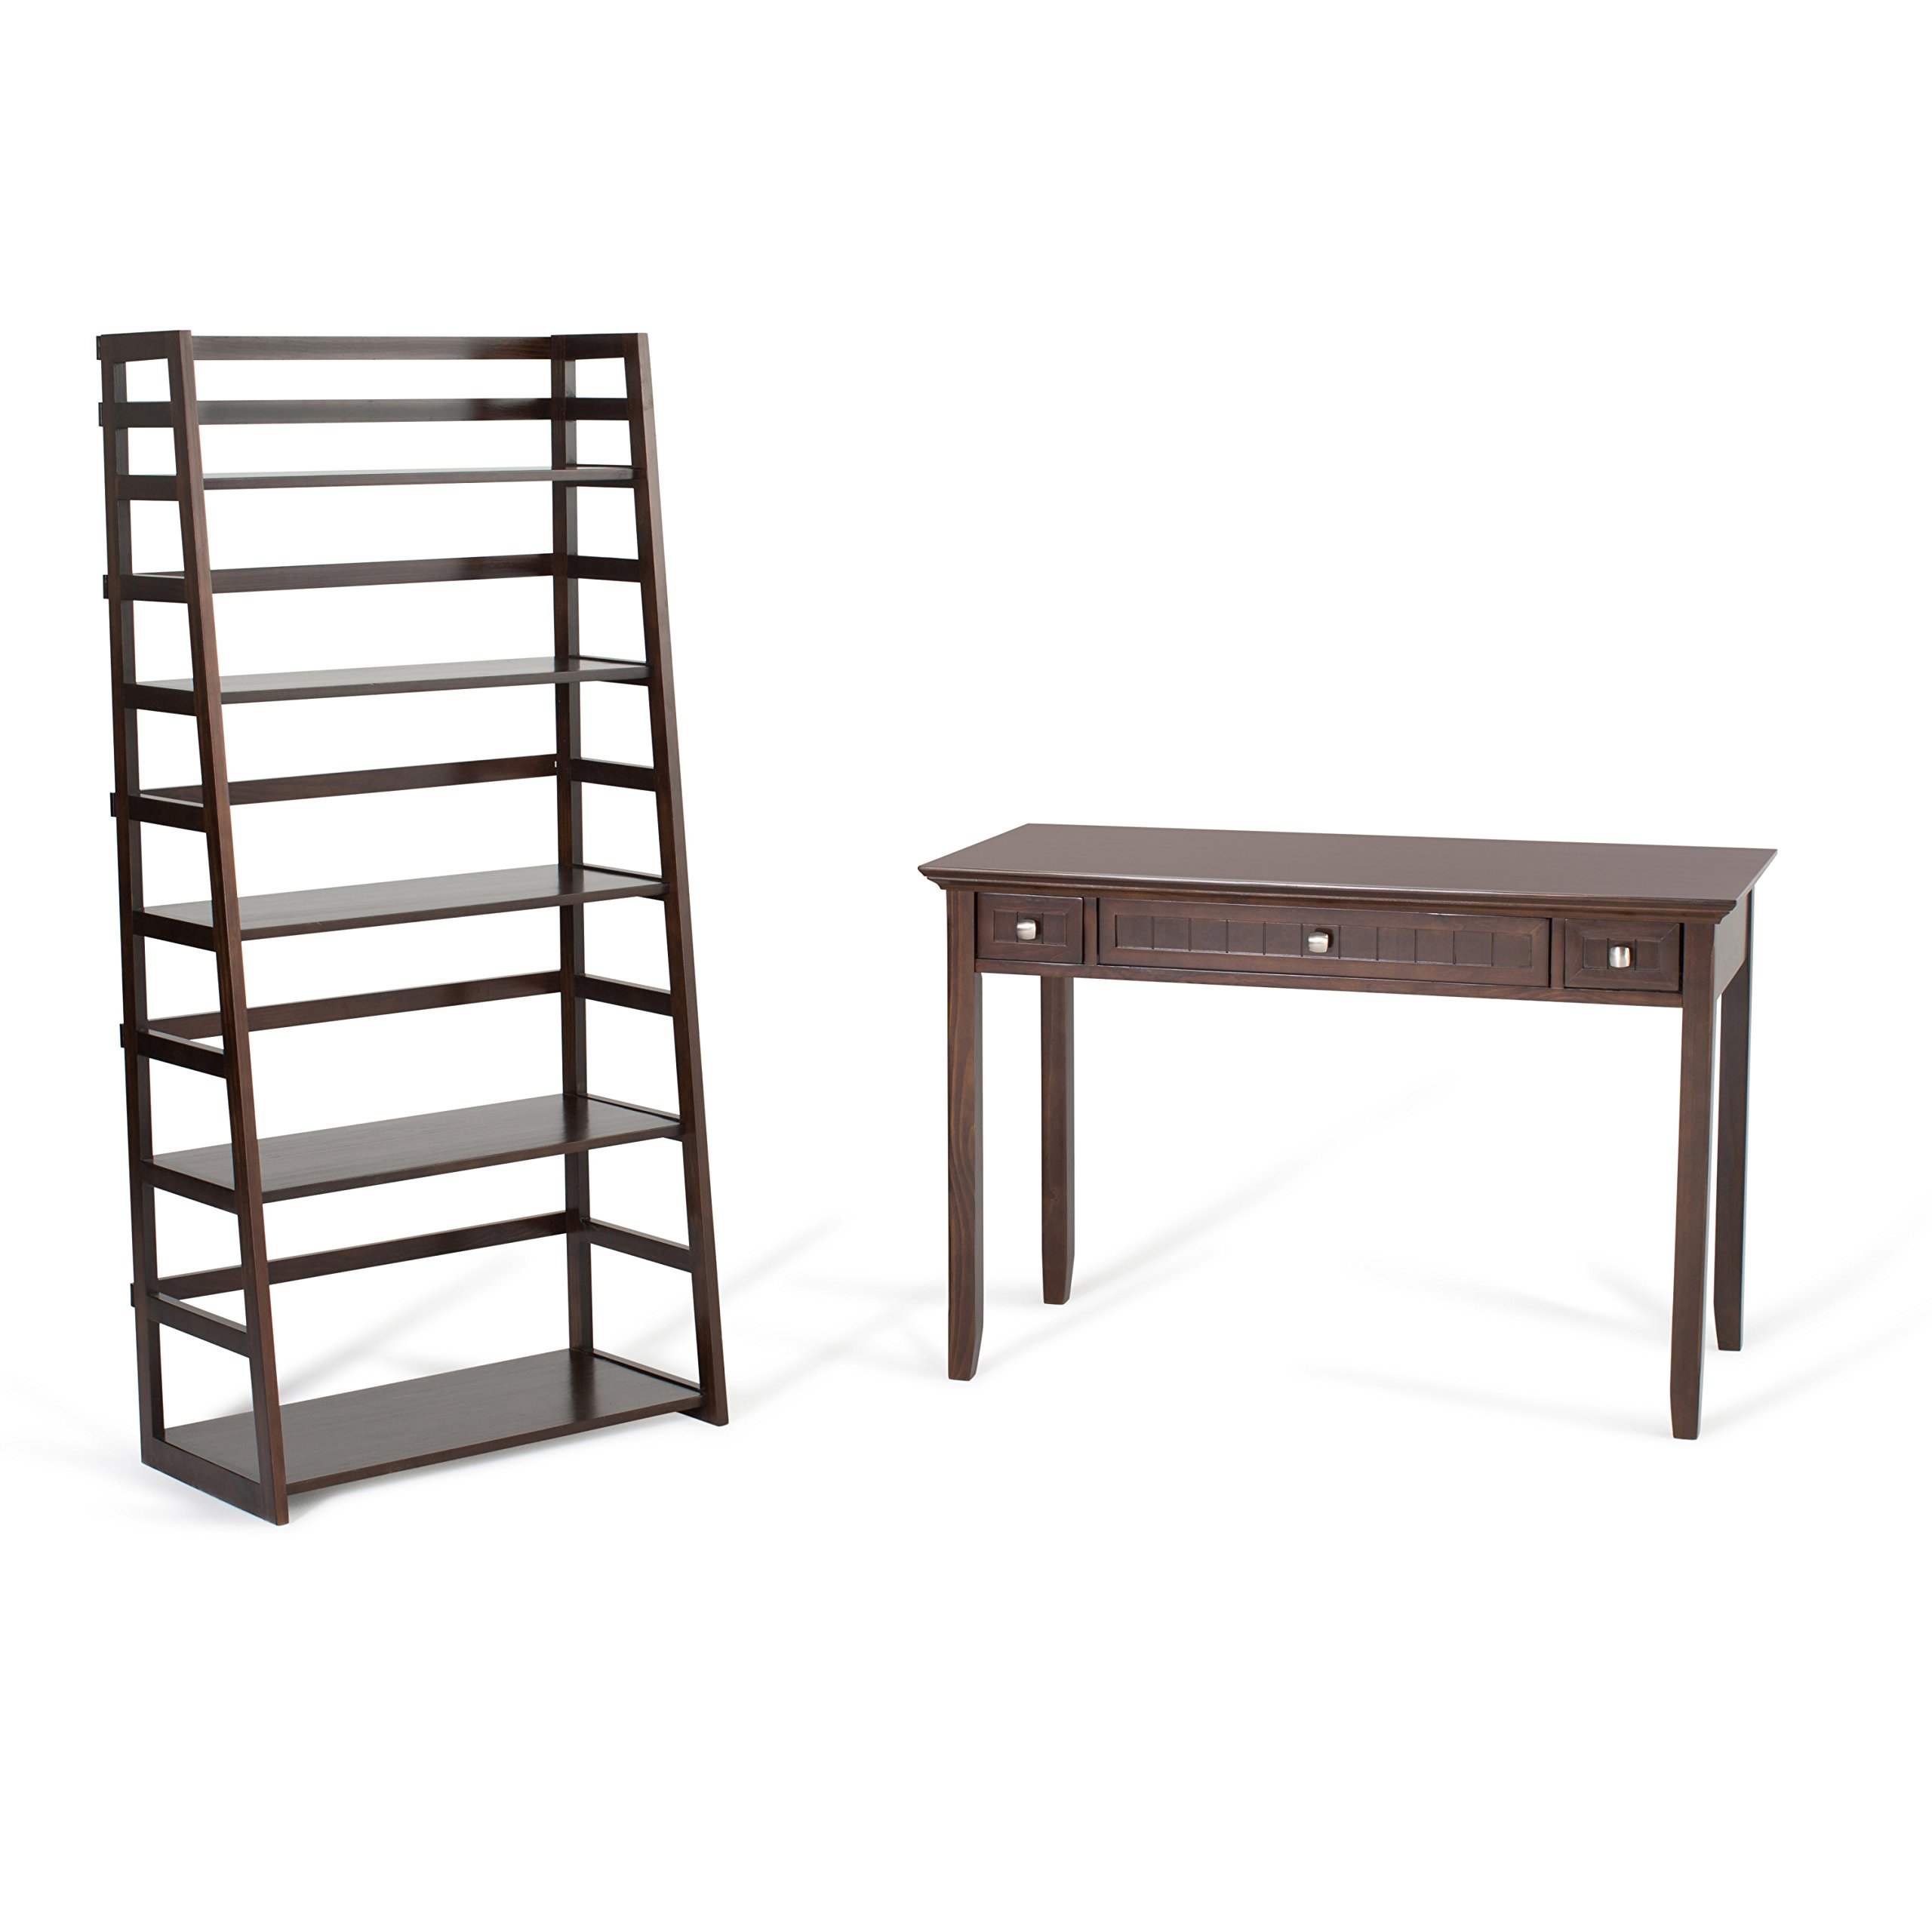
The SIMPLIHOME Bedford Universal TV Media Stand is a beautifully handcrafted piece made from solid wood, featuring a rich Dark Tobacco Brown finish. With five spacious shelves, it offers ample storage for your media devices and decor, making it a versatile addition to any living space. Designed to accommodate flat-screen TVs up to 60 inches, this stand can be used individually or combined with other units for a cohesive look.
P**S
Buying and assembly tips
Over the years I have bought and assemble more RTA (ready to assemble) furniture than the average person. Some of it was low-grade “temporary” items like bookshelves that were only intended to serve a utilitarian purpose and others were furniture-grade pieces that were shipped knocked-down but were actually of good quality.This bookcase in my opinion is one in the second category. While I would not call it “fine furniture” it is head and shoulders above the MTF products sold at IKEA and similar places. Yes, it is real wood, 100% real wood. No it is not heirloom quality wood but the bottom line is it is well made and meant to last.INITIAL OBSERVATIONS:Having assembled more IKEA products than I can count I can’t help but do a generalized comparison between this and other RTA products:1. The packaging is much better than average. It would take extremely rough handling to damage the product in shipment.2. There is attention to detail. For example, the hardware kit is wrapped in multiple layers of protection, not only to protect the hardware but to protect the furniture finish from damage in shipping.3. The various pieces themselves obviously have the touch of human hands; you can tell that the seams have been lined up and finished properly. The stain is even and well sanded.4. The assembly instructions are easier to follow than most RTA brands I have bought.REASONABLE EXPECTATIONS:When you are considering this bookcase it is important to have reasonable expectations. It is rare to have any product these days made from real wood, especially at this low price point. Is the finish perfect? I would say it is surprisingly good but yes there are some imperfections. I don’t mind them, in fact I like them … it gives the piece a more genuine look than furniture made of pressed wood.And being real wood, it will be subject to the dings of everyday life. The difference will be that those dings will add character whereas with MTF products even a small fingernail scratch can look ugly.One thing that’s sure to make me laugh is reviews that claim that “the holes don’t line up” or they are on the wrong side of the piece. No, sorry to burst that bubble but products like this are made in automated jigs that assure consistency from piece-to-piece. 100% of the time when someone says that the holes don’t line up it is because they failed to read the instructions. Ditto with “the manufacturer didn’t drill the right size holes”. The reality is that with some RTA furniture the holes are purposely drilled smaller than necessary as guide holes. Doing this assures a tighter fit when the product is assembled. I can assure you that all of the holes DO line up and that this is not a difficult piece to assemble. After reading the instructions it goes together in about 30-45 minutes.HINTS:1. When assembling this bookcase, lay the product on a hard-surface floor covered with a drop cloth to avoid scratching the floor and the furniture2. When you have both sides screwed in, raise the bookcase upright with the help of a second person and make sure it is “square” before adding the back braces. You can do this one of two ways: 1) with a metal L-square; 2) by placing the bookcase against a vertical wall and aligning it by sight. The back braces are what keeps the unit aligned and prevents it from wobbling3. Unless you plan to disassemble the bookcase later I suggest using strong furniture glue at all of the joints and in each screw hole. I use Gorilla Glue.4. I am disappointed that the manufacturer doesn’t include any feet for the bookcase. Even if you don’t plan to move it (you will someday), you should have some sort of furniture glides. Because of the uneven weight you may place on this bookcase and the possibility of tipping I would suggest the low-profile rectangular self-stick nylon glides that you can get at the local hardware store. I would not use any glides that are thicker than ¼”. The nylon ones usually are appropriate to use on both carpet and hard-surface floors.BOTTOM LINE:The quality of this bookcase is substantially better than I expected for the price. The same piece would sell (assembled) for about $400 at a better furniture store. Throughout the assembly it was evident that the manufacturer has some pride in what they sell and that there was a good inspection process in place. The finished bookcase is reasonably sturdy and due to its ladder-style shape is less likely to tip over than a traditional bookcase, but if you have kids I would recommend using the included anti-tip kit. Compared to other RTA products I have purchased this one clearly earns a top rating of 5-stars.
L**M
Five Stars
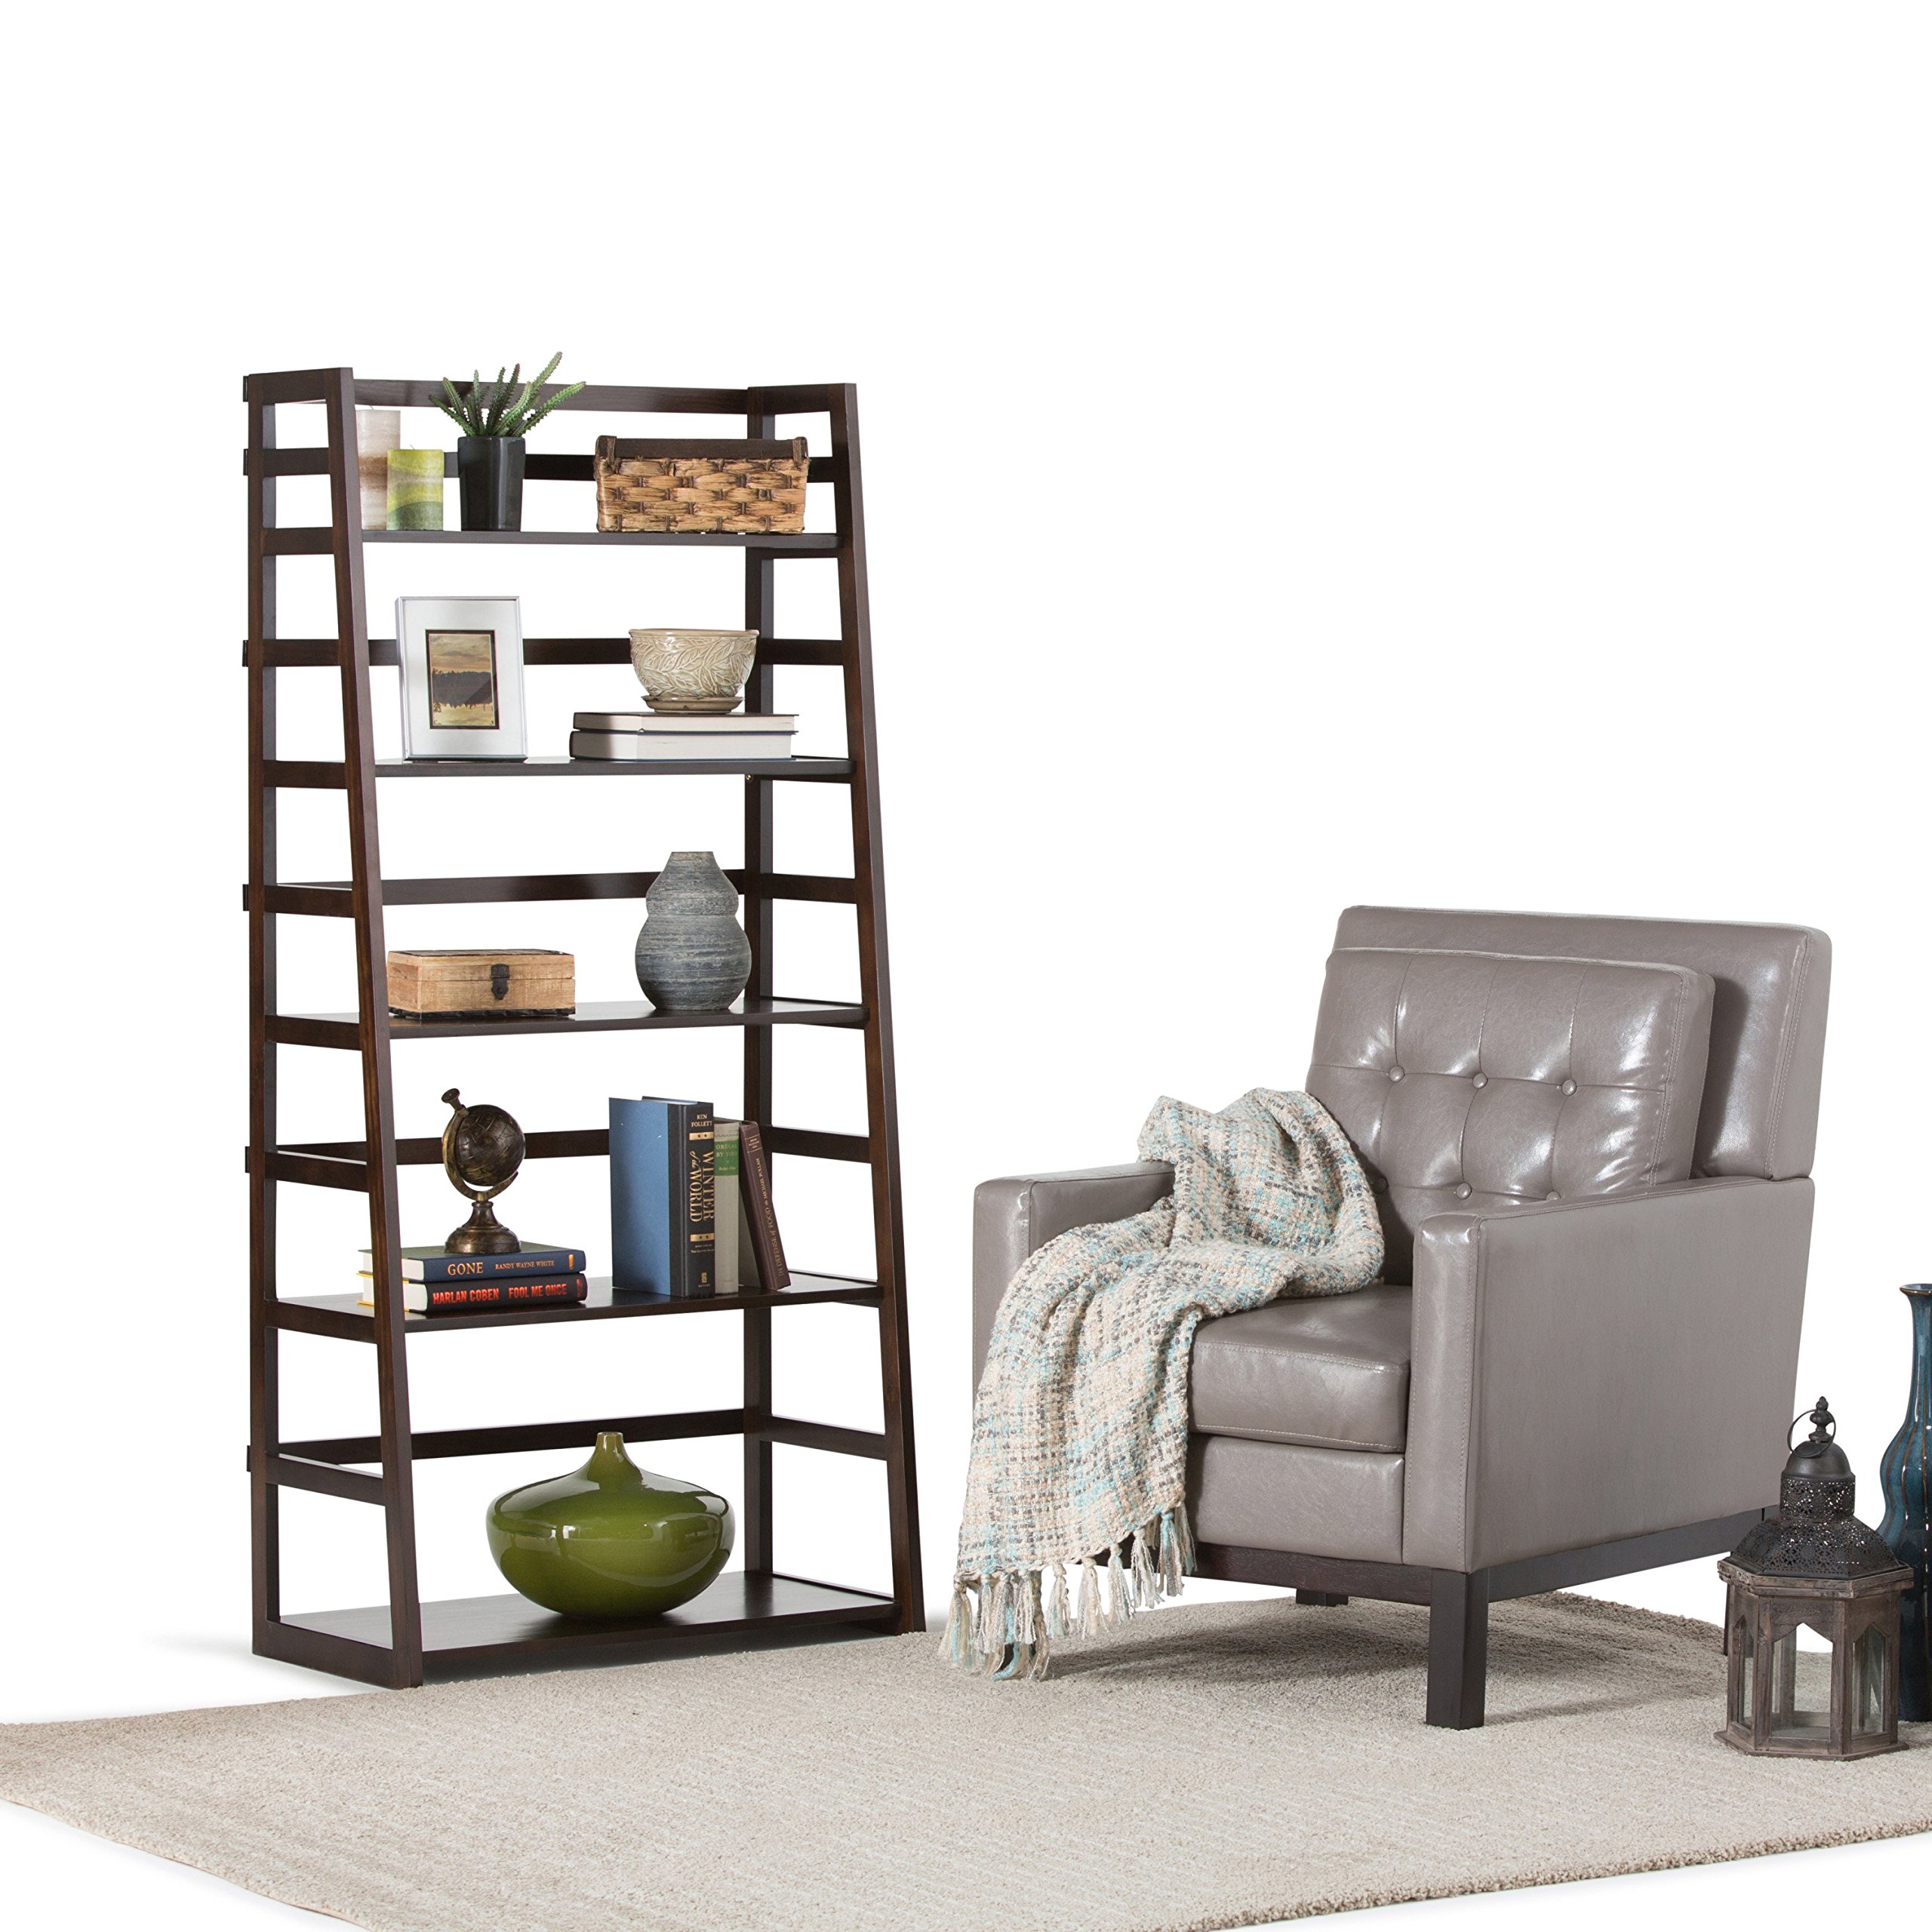
We were pleasantly surprised by this shelving unit. My husband took his time and assembled it easily in about an hour. All the needed hardware was included, and the holes were aligned perfectly. It is sturdy and doesn't sway, and it is heavier than I thought it would be. The shelves, which you can see in one of the pictures, are wood, not mystery material. There were no scratches or dings anywhere, and it was well-packaged. That was a good thing, because UPS stood it outside against my garage door, and when I opened the garage door, it fell on the ground. There was no damage, however.I bought this to go in my daughter's new apartment, but I'm considering buying at least one more for a reading room in my house.Some responders below seem to have had difficulty with the assembly, but we did not. My husband has a lot of experience with this sort of thing, so that may be the difference.
M**R
Easy to assemble, and so nice looking
The media could not be loaded. Very Attractive, and surprisingly easy to assemble.First note. I am brain injury survivor, and except for the very last part with asking my son to help with screwing in the back braces, I did this all by myself in about 1 hour. I would guess that before my brain injury, it would have taken about 20 minutes tops. The most difficult part being unwrapping the parts.Everything aligned and fit perfectly, and I have assembled these type of pin and cradle assemblies and I know how not do it wrong, so I included that in my video.I purchased this from Amazon, because I felt it was a great price, it looked good and it display my stuff well.So take a look at my video for more infoTom, the Squirrel Whisperer.
R**N
Generally Good - Could have been great.
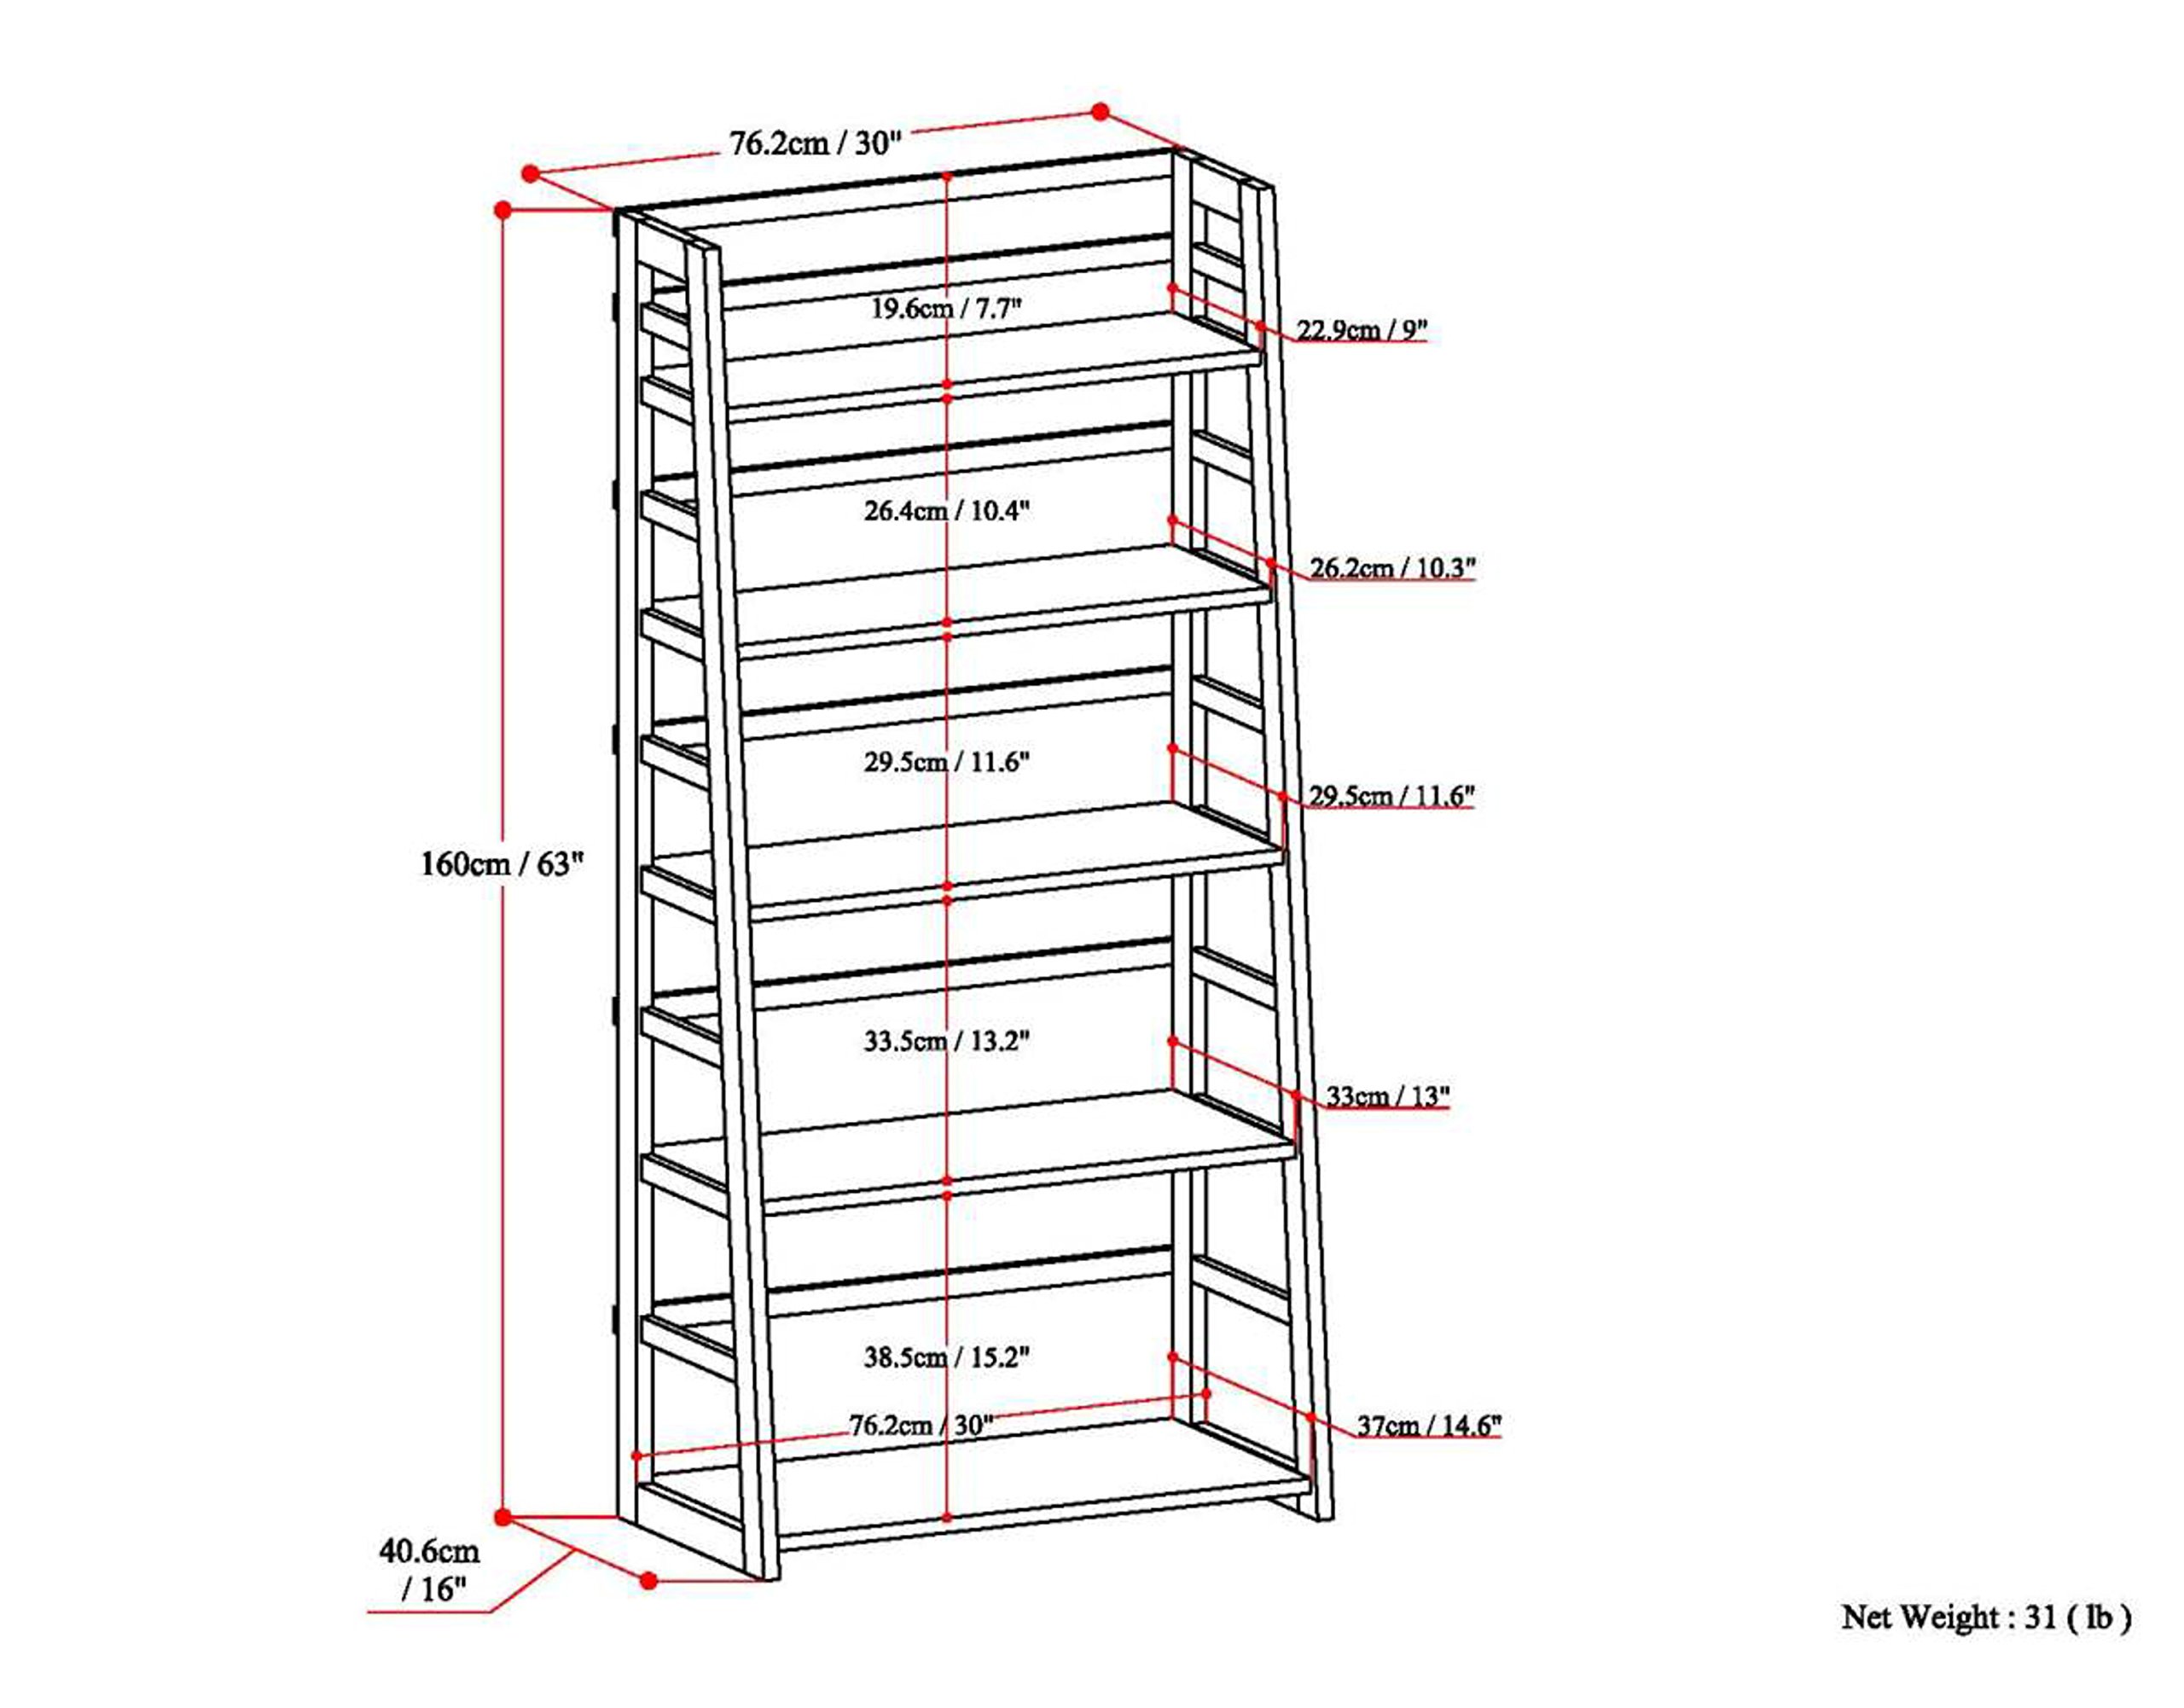
Generally a good product, with some issues. The generously sized lower shelves, staggered shelf height and depth, airiness and the attractive profile may be the best features of these unit.I ordered two. My first one came out a quite bit flimsy in the side-to-side direction. (Front-to-back it is extremely stable. That gave me the idea for this fix.) To address the sideways flimsiness, I removed the lower 4 back pieces (B), and reattached them at slight alternating angles, using only one of the pre-drilled side piece (A) holes as follows: The screw in the UPPER hole of the back piece (B) gets inserted into the LOWER hole of the pair in the side piece (A). Do the reverse on the other side of that piece (B). Alternate the angle on the other 4 back pieces (B). See picture below. If you have slightly angled back pieces (B), and one unused hole at each joint, you have done right. Once these screws are in, put in the second screw in each joint. I did not need to drill guide holes; the pre-drilled holes in the back pieces (B) performed this function. This produced a big improvement, almost as much as I was hoping. While this is not as visually appealing, if you are planning on filling the bookcase with books, it won't be much of a problem. If it hadn't worked I would have given it 2 or less stars and returned the items. Even tho my second bookcase seemed a bit sturdier, probably due to learning experience, I used the alternating angled back pieces on that, too.Extra parts were included. The parts bag was torn. Parts got loose and were lost in the packing, the extras were a big help. I did find the misplaced parts later.The issues are:First, the cam-lock pin heads stripped easily and produce shavings even when they stayed intact. Based on that, they may be made of a lead alloy, which, if correct, would be a big hazard for households with small children. A vice-grip (or other) pliers will help finish installing any damaged pins.Second, while the tobacco color is extremely nice, there are a few splotchy areas in the staining. Also, there were a few dents and drilling mistakes, but they weren't that visible or problematic.Third, the link on the product page to the assembly instructions is way too small. I started to panic when I didn't find instructions in the first package, and they weren't obvious on the page. Also, how many people want to drag their laptops to an assembly area? There were printed instructions in the second package.Fourth, the instructions are a bit too concise. If you've never assembled furniture before, and are not mechanically inclined, you may find this a bit difficult to put together. Here is how I would have written them.Note: Cam-locks are listed as one part, but they have two pieces, a PIN and a DISK.1 - Lay the sides (A) on a carpet, or blanket on the floor, with the holes face up.2 - Insert all cam-locks PINs (1) into the sides, preferably using a battery powered screwdriver, with a snug fitting Philips head tip. Be careful not to strip the heads; it's easy to do, and even easier if you drive the screws by hand.3 - Insert the dowels at the bottoms of the sides (A).4 - Starting with the SMALLEST shelf (G), insert the cam-lock DISKS and then connect each shelf to one side (A), this time with the back of the case on the floor. Close the cam-locks. If the cam-lock doesn't catch, turn it counter-clockwise and try again. Continue with F, E, etc. Doing the smallest first and putting the unit on its back, gives you better access to the cam-lock disks, and puts less stress on the cam-lock joints. Don't bother trying to attach each shelf to both sides at the same time (like I did). There is not enough clearance.5 - Attach the angle braces. Don't worry about the small (microscopic) drilled holes. The screws are self-tapping and the placement is not critical.6 - Attach the back pieces (B). (Same comment as in #5 about holes and screws.) Use only one of each pair of pre-drilled holes in the side piece (A), as described above, at the very beginning. One screw in each joint will go into undrilled wood. Alternate the slant on consecutive back pieces (B).7 - Go back and check the cam-locks, but tighten them gently. The movement can work one or two loose.Finally, the packaging uses a lot of Styrofoam and other non-recycleable materials. This is really inexcusable if you, like me, care about the environment.Since I was primarily interested in utility, the minor cosmetic shortcomings were not a problem for me. You may be pickier.
Trustpilot
Hace 5 días
Hace 1 mes
